

Make delicious homemade ice cream with our simple, secret-revealing recipe! No fancy equipment needed for this creamy, dreamy treat.
Ever dreamt of scooping perfectly smooth, creamy ice cream right from your own freezer? It feels like magic, but it’s totally achievable! Many people think making ice cream at home is complicated, requiring special machines or tricky techniques. But what if we told you that with a few simple ingredients and a little know-how, you can whip up incredibly delicious ice cream that rivals your favorite scoop shop? We’re here to demystify the process and share a secret that will elevate your homemade ice cream from good to absolutely amazing. Get ready to impress yourself and everyone you know!
Unlocking the Secret to Amazing Homemade Ice Cream
The “secret” to truly spectacular homemade ice cream often boils down to a few key elements: quality ingredients, the right balance of fat and sugar, and a technique that prevents ice crystals from forming. We’re going to focus on a classic, no-churn method that’s perfect for beginners. This method relies on the magical properties of sweetened condensed milk and heavy cream to create a wonderfully rich and creamy texture without an ice cream maker.
Why This Recipe is Your New Go-To
Simplicity: No eggs, no cooking, no complicated steps.
Creaminess: Achieves a luxurious, smooth texture.
Versatility: A fantastic base for endless flavor variations.
Beginner-Friendly: Perfect for your first foray into homemade ice cream.
Gather Your Ice Cream Arsenal: Essential Ingredients & Tools
Before we dive into the deliciousness, let’s make sure you have everything you need. Think of this as setting up your personal ice cream creation station!
The Star Players: Your Ingredients
2 cups (473ml) Heavy Whipping Cream: This is crucial for that rich, creamy texture. Make sure it’s cold!
1 can (14 oz / 396g) Sweetened Condensed Milk: This provides sweetness and contributes to the smooth texture by lowering the freezing point of the mixture.
1 teaspoon Vanilla Extract: A classic flavor enhancer that makes everything taste better.
Optional Add-ins: Chocolate chips, cookie dough chunks, fresh fruit, caramel sauce, etc. (We’ll explore these later!)
Your Trusty Kitchen Companions: Essential Tools
Large Mixing Bowl: Big enough to comfortably whip the cream.
Electric Mixer (Handheld or Stand Mixer): While you can whip cream by hand, an electric mixer makes it significantly easier and faster.
Spatula: For folding and scraping.
Freezer-Safe Container with Lid: A loaf pan, a plastic container, or a dedicated ice cream container works well. About 1.5 to 2 quarts (1.4 to 1.9 liters) is ideal.
Measuring Cups and Spoons: For accuracy.
Step-by-Step: Crafting Your Creamy Dream
Let’s get down to business! Follow these simple steps, and you’ll be enjoying homemade ice cream in no time.
Step 1: Chill Everything!
This is a subtle but important step. Place your mixing bowl and the beaters from your electric mixer in the freezer for at least 15-30 minutes. A colder environment helps the cream whip up faster and achieve stiffer peaks.
Step 2: Whip the Heavy Cream
Pour the cold heavy whipping cream into your chilled mixing bowl. Using your electric mixer on medium-high speed, whip the cream until stiff peaks form. This means when you lift the beaters, the cream stands up straight and doesn’t curl over. Be careful not to over-whip, or you’ll start making butter!
What are “stiff peaks”? Imagine the cream forming little mountain tops that hold their shape.
Step 3: Gently Combine with Condensed Milk
Pour the sweetened condensed milk into the bowl with the whipped cream. Add the vanilla extract. Using a spatula, gently fold the condensed milk and vanilla into the whipped cream. The goal here is to combine them without deflating the whipped cream. Fold from the bottom up and over, turning the bowl as you go, until just combined and no streaks of condensed milk remain.
Folding technique: Imagine you’re tucking the condensed milk into the whipped cream, rather than stirring vigorously.
Step 4: Add Your Flavorful Twists (Optional)
Now for the fun part! If you’re adding mix-ins like chocolate chips, chopped nuts, cookie dough, or swirls of fruit puree, gently fold them in now. Distribute them evenly for the best flavor in every bite.
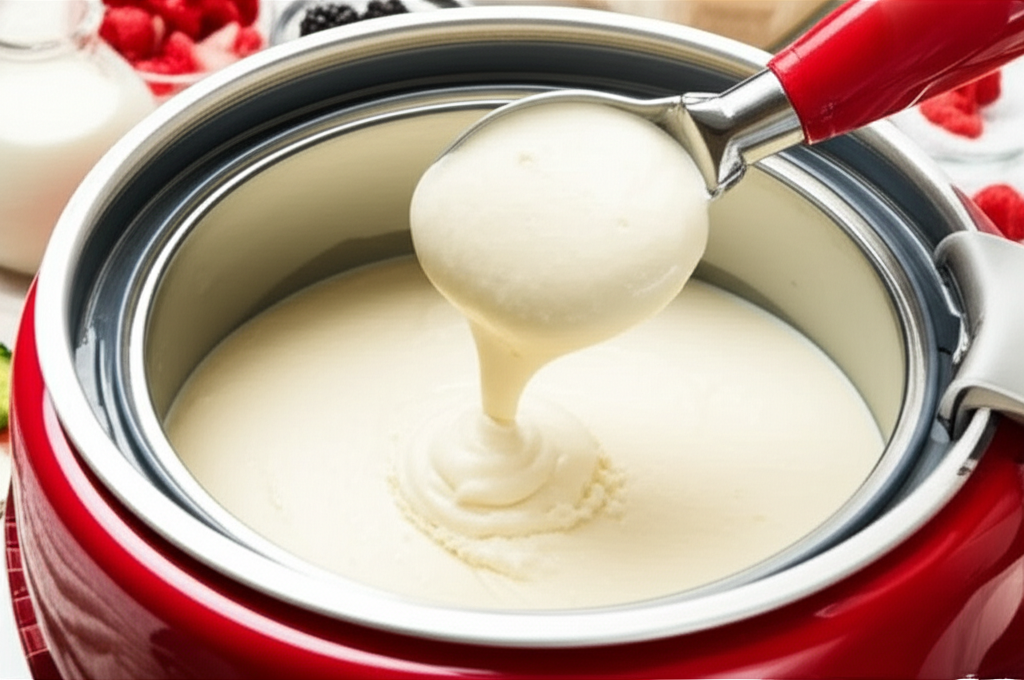
Step 5: Freeze to Perfection
Pour the mixture into your freezer-safe container. Cover it tightly with a lid or plastic wrap, ensuring it touches the surface of the ice cream to prevent ice crystals from forming. Place it in the freezer for at least 6-8 hours, or preferably overnight, until firm.
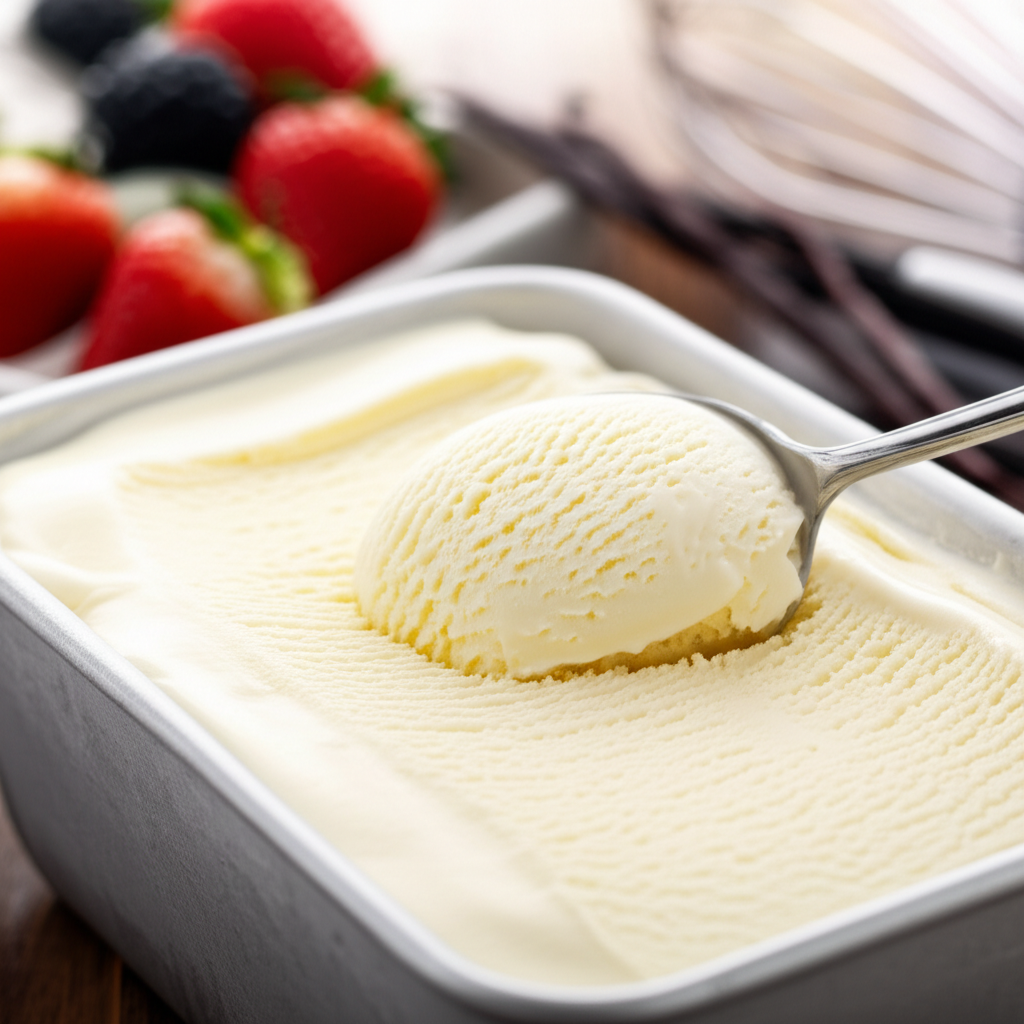
Step 6: Scoop and Enjoy!
Once frozen solid, let the ice cream sit at room temperature for a few minutes to soften slightly, making it easier to scoop. Scoop into bowls or cones and savor your delicious, homemade creation!
Flavor Variations: Unleash Your Inner Ice Cream Artist
The beauty of this no-churn recipe is its incredible versatility. Once you’ve mastered the basic vanilla, the flavor possibilities are truly endless. Here are a few ideas to get you started:
Classic Combinations
Chocolate: Fold in 1/2 cup (45g) of unsweetened cocoa powder (sifted) with the condensed milk, or stir in 1 cup (170g) of melted and slightly cooled chocolate.
Strawberry: Puree about 1 cup (150g) of fresh or frozen strawberries and swirl it into the mixture before freezing.
Cookies and Cream: Fold in 1 cup (110g) of crushed chocolate sandwich cookies.
Mint Chocolate Chip: Add 1-2 teaspoons of peppermint extract and 1 cup (170g) of mini chocolate chips.
Gourmet Twists
Caramel Swirl: Drizzle 1/2 cup (120ml) of thick caramel sauce over the mixture in the container and swirl gently with a knife before freezing.
Coffee: Dissolve 2-3 tablespoons of instant coffee granules in 1 tablespoon of hot water, let cool, and add with the condensed milk.
Peanut Butter Cup: Swirl in 1/2 cup (130g) of creamy peanut butter and fold in chopped peanut butter cups.
Troubleshooting Common Ice Cream Conundrums
Even with the simplest recipes, sometimes things don’t go exactly as planned. Here are a few common issues and how to address them:
Problem: My Ice Cream is Too Icy
Reason: This usually happens when ice crystals form. Not whipping the cream enough, not using enough fat, or not freezing it quickly enough can contribute.
Solution: Ensure your cream is whipped to stiff peaks. Use full-fat condensed milk and heavy cream. Make sure your freezer is at a consistent, cold temperature. Covering the surface of the ice cream with plastic wrap before putting on the lid can also help.
Problem: My Ice Cream is Too Hard
Reason: Too much water content, or the freezing point wasn’t lowered enough.
Solution: Ensure you’re using sweetened condensed milk, not evaporated milk. Sweetened condensed milk has a higher sugar content which helps keep the ice cream softer. Letting the ice cream temper slightly at room temperature for 5-10 minutes before scooping also helps.
Problem: My Ice Cream Isn’t Sweet Enough
Reason: Personal preference or the flavorings used (like unsweetened cocoa) diluted the sweetness.
Solution: While this recipe relies on the sweetness of the condensed milk, you can slightly increase the amount of condensed milk (e.g., by 1/4 cup) in future batches, or add a touch of simple syrup (equal parts sugar and water, heated until sugar dissolves, then cooled) if you prefer a sweeter base.
The Science Behind the Creaminess (It’s Easier Than You Think!)
Understanding a little bit about why this works can make you feel even more confident in your ice cream-making abilities. The key players are fat, sugar, and air.
Fat: The fat in the heavy cream coats ice crystals, preventing them from growing large and making the ice cream feel smooth and creamy on your tongue. Heavy cream typically has at least 36% milkfat, which is ideal. Lower fat content will result in a less creamy texture.
Sugar: Sugar doesn’t just add sweetness; it also lowers the freezing point of water. This means that even when frozen, the mixture remains somewhat pliable, contributing to a softer, scoopable texture. Sweetened condensed milk is a perfect ingredient because it’s already concentrated with sugar.
Air: Whipping the cream incorporates air, which lightens the texture and makes it feel less dense. This is why whipping to stiff peaks is so important.
For a more in-depth look at the science of ice cream, you might find resources from reputable culinary institutes helpful, such as the Culinary Institute of America. They often discuss the role of ingredients in achieving desired textures and flavors.
Frequently Asked Questions About Homemade Ice Cream
- Q1: Do I really need an ice cream maker for this recipe?
- No! This is a “no-churn” recipe, meaning it’s specifically designed to be made without any special ice cream maker. The magic happens with whipped cream and sweetened condensed milk.
- Q2: How long does it take to freeze?
- You’ll need to freeze it for at least 6-8 hours, but overnight is best to ensure it’s completely firm and ready to scoop.
- Q3: Can I use evaporated milk instead of sweetened condensed milk?
- No, you cannot substitute evaporated milk. Sweetened condensed milk is crucial for the texture and sweetness of this recipe. Evaporated milk is just milk that has had water removed and does not contain sugar.
- Q4: My whipped cream didn’t get stiff. What did I do wrong?
- Make sure your cream and bowl were very cold. If the cream is too warm, it won’t whip properly. Also, ensure you’re using heavy whipping cream (at least 36% milkfat) and not half-and-half or milk.
- Q5: How long will homemade ice cream last in the freezer?
- Homemade ice cream is best enjoyed within 1-2 weeks. After that, it can start to develop ice crystals and lose its optimal texture.
- Q6: Can I make this recipe dairy-free?
- This specific recipe relies on dairy (heavy cream and condensed milk). For dairy-free ice cream, you would need to use dairy-free alternatives like full-fat coconut cream and a dairy-free sweetened condensed milk alternative, but the results might vary.
Tips for Storing Your Homemade Ice Cream
Proper storage is key to maintaining that delightful creamy texture.
Use an Airtight Container: This prevents freezer burn and the absorption of odors from other foods.
Press Plastic Wrap to the Surface: Before placing the lid on, press a layer of plastic wrap directly onto the surface of the ice cream. This creates a barrier against air and ice crystals.
Keep it in the Coldest Part of Your Freezer: The back of the freezer, away from the door, usually maintains a more consistent temperature.
Beyond the Scoop: Serving Suggestions
Your delicious homemade ice cream is a star on its own, but it also pairs wonderfully with other treats.
Classic Cones: Serve in sugar cones, waffle cones, or cake cones.
Toppings Galore: Drizzle with hot fudge, caramel sauce, or fruit compote. Sprinkle with chopped nuts, sprinkles, or mini chocolate chips.
With Baked Goods: A scoop of vanilla ice cream is perfect alongside a warm slice of apple pie, a brownie, or a freshly baked cookie.
In Milkshakes: Blend with milk and your favorite flavorings for a thick, creamy milkshake.
Conclusion: Your Ice Cream Journey Begins Now!
You’ve now unlocked the secrets to making wonderfully creamy, delicious homemade ice cream right in your own kitchen. This simple no-churn recipe is your gateway to a world of frozen delights, proving that you don’t need fancy equipment to achieve amazing results. From the basic vanilla to endless flavor creations, the possibilities are as vast as your imagination. So, gather your ingredients, follow these easy steps, and get ready to scoop up a taste of pure joy. Happy churning (or rather, no-churning)!