

Get ready for astonishingly simple goo! This easy recipe uses common household ingredients to create a fun, stretchy, and satisfying goo that’s perfect for play, stress relief, or just a bit of sensory exploration. You’ll be amazed at the shockingly amazing results with minimal effort and maximum fun.
Have you ever wanted to make that super stretchy, satisfying goo you see online? It looks so fun and squishy, but the recipes can seem complicated. Maybe you’ve tried before and ended up with something sticky or crumbly. Don’t worry! Making fantastic goo at home is actually much simpler than you think. We’re going to walk you through a super easy recipe that delivers shockingly amazing results, every single time. Get ready to impress yourself and have a blast!
What is Goo and Why is it So Popular?
Goo, often called slime, is a non-Newtonian fluid that has a unique texture. It can be both solid and liquid depending on how you interact with it. This fascinating property makes it incredibly entertaining. It’s popular for a few key reasons:
Sensory Play: The tactile experience of touching and manipulating goo is incredibly satisfying for both children and adults. It can be calming and help with focus.
Creativity & Customization: You can add colors, glitter, scents, and other mix-ins to create unique goo.
Science Exploration: Making goo is a fun way to introduce basic science concepts like polymers and chemical reactions in a hands-on way.
Stress Relief: The simple act of squishing and stretching goo can be a great way to relieve stress and anxiety.
The Shockingly Simple Goo Recipe: Ingredients You Likely Have!
Forget those complicated recipes with hard-to-find ingredients. This method is designed for ease and accessibility, ensuring you can whip up some amazing goo with items you probably already have in your pantry or bathroom.
Essential Ingredients:
White School Glue: This is the base of your goo. Look for PVA (polyvinyl acetate) glue. About 1/2 cup is a good starting point.
Baking Soda: This helps to firm up the goo and give it its characteristic stretch. 1/2 teaspoon should be sufficient.
Contact Lens Solution: This is the magic ingredient that activates the goo! Crucially, it must contain boric acid and sodium borate. Saline solution alone won’t work. Start with 1 tablespoon and add more as needed.
Water (Optional): A little bit of water can make the goo stretchier. 1-2 tablespoons.
Food Coloring (Optional): For vibrant colors! Add a few drops to your glue.
Tools You’ll Need:
Mixing Bowl: A medium-sized bowl is perfect.
Measuring Cups and Spoons: For accurate ingredient measurements.
Spoon or Spatula: For mixing.
Airtight Container: To store your goo once it’s made.
Step-by-Step Guide to Making Your Goo
Follow these simple steps, and you’ll have shockingly amazing goo in no time!
Step 1: Pour the Glue
In your mixing bowl, pour 1/2 cup of white school glue. If you’re using colored goo, add a few drops of food coloring to the glue now and mix until the color is evenly distributed. The more coloring you add, the deeper the hue!
Step 2: Add Baking Soda
Sprinkle 1/2 teaspoon of baking soda into the bowl with the glue. Stir it in thoroughly until it’s completely combined. This step is important for the texture.
Step 3: Incorporate Water (Optional)
If you want a stretchier goo, add 1-2 tablespoons of water to the mixture and stir well. This will make the goo a bit more pliable.
Step 4: The Activation! Add Contact Lens Solution
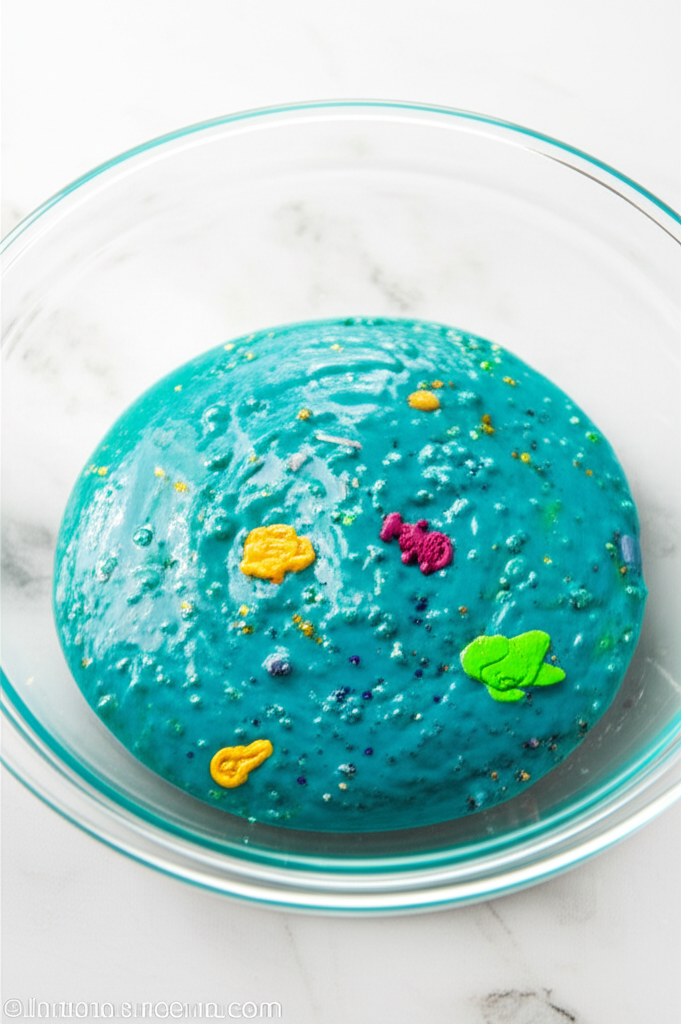
This is where the magic happens! Add 1 tablespoon of contact lens solution to the mixture. Stir continuously. You’ll notice the mixture starting to pull away from the sides of the bowl and form a blob.
Step 5: Mix and Knead
Keep stirring until the goo is mostly clumped together. It might still be a bit sticky. At this point, it’s time to get your hands in there! Knead the goo like dough. It will feel sticky at first, but as you knead, it will become less sticky and more cohesive.
Step 6: Adjust Consistency
If your goo is still too sticky after a few minutes of kneading, add another 1/2 teaspoon of contact lens solution and continue to knead. Be careful not to add too much, or your goo can become stiff and break easily. Aim for a smooth, stretchy consistency that doesn’t stick to your hands.
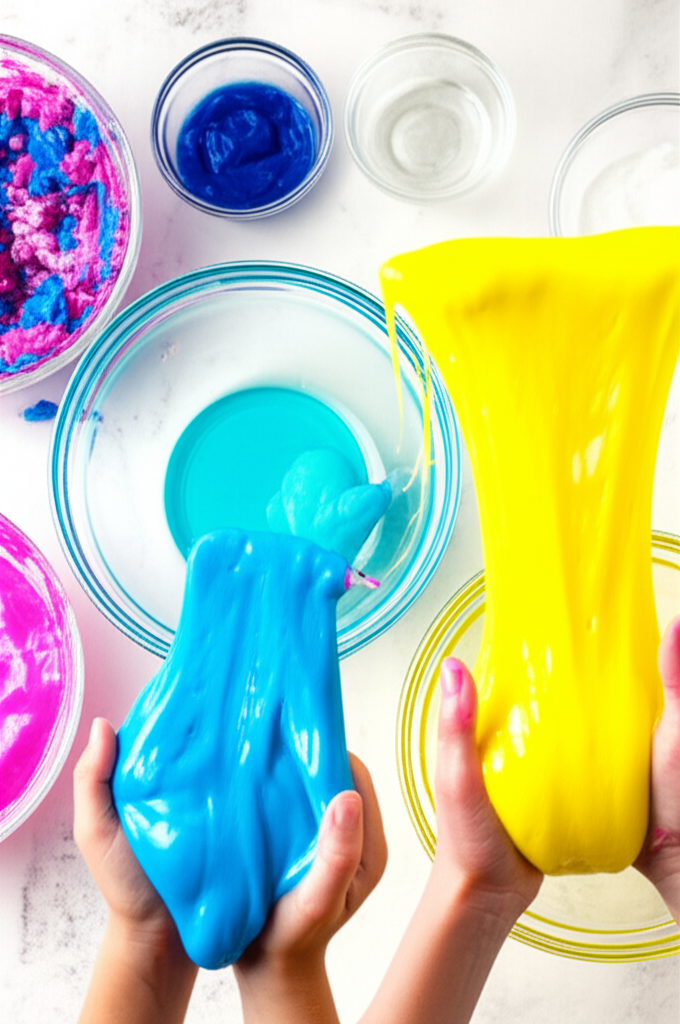
Step 7: Play and Enjoy!
Once your goo has reached the desired consistency, it’s ready for play! Stretch it, squish it, poke it – enjoy the satisfying texture.
Tips for Shockingly Amazing Goo Variations
Want to take your goo to the next level? Here are some fun ways to customize it:
Glitter Goo: Add craft glitter to the glue mixture before adding the activator for a sparkly effect.
Scented Goo: A drop or two of essential oils (like lavender for calming or citrus for energy) can add a lovely scent. Make sure the oil is skin-safe.
Glow-in-the-Dark Goo: Use glow-in-the-dark paint or add glow-in-the-dark powder to your glue mixture.
Fluffy Goo: Add shaving cream (foam, not gel) to the glue mixture before activating. Start with about 1 cup of shaving cream for 1/2 cup of glue and adjust as needed. This creates a super soft, airy texture.
Clear Goo: Use clear school glue instead of white glue for a transparent goo. You can add glitter or small objects to it.
Troubleshooting Common Goo Problems
Even with a simple recipe, sometimes things don’t go perfectly. Here are some common issues and how to fix them:
| Problem | Cause | Solution