

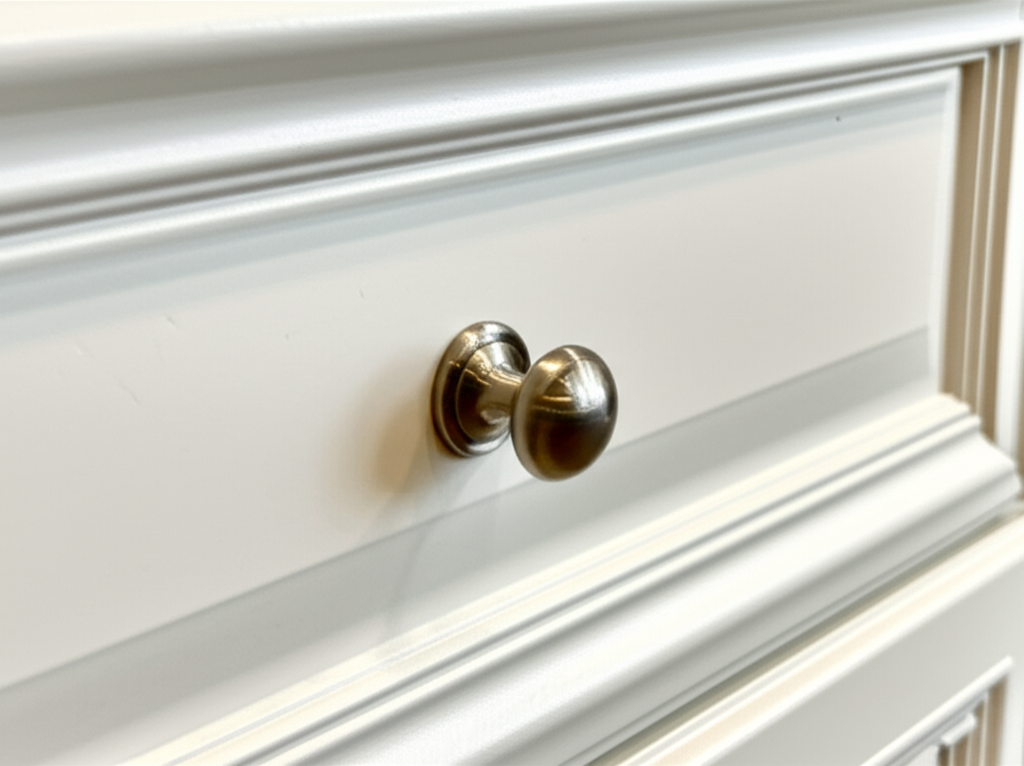
Put cabinet knobs at a comfortable height, usually centered horizontally on the drawer or door, and around 2-3 inches from the edge of the door. For drawers, consider the center. For upper cabinets, aim for 5-6 inches from the top. For lower cabinets and drawers, measure from the top edge.
Tackling a kitchen refresh can feel exciting, but sometimes the smallest details, like where to place cabinet knobs, can cause the biggest headaches. Will they look right? Are they easy to reach? Don’t worry, we’ve all been there! Getting cabinet hardware placement just right is simpler than you think, and it can make a world of difference in your kitchen’s look and feel. We’ll walk you through everything you need to know to achieve that perfect, polished finish. Let’s discover where to put knobs on kitchen cabinets for an amazing reveal!
The Golden Rule of Knob Placement: Comfort and Aesthetics
When it comes to placing knobs on your kitchen cabinets, the ultimate goal is to find that sweet spot where functionality meets beauty. You want them to be easy to grab and use, but also visually pleasing. Think about how you use your kitchen every day. Which cabinets do you open most often? Where do your hands naturally fall when reaching for them? These are the clues to perfect placement.
Understanding Your Cabinet Style
Before you even pick up a drill, take a moment to look at your cabinets. Are they sleek and modern with flat fronts, or do they have decorative raised panels or intricate molding?
Flat-Panel (Slab) Cabinets: These offer the most flexibility. You can place knobs almost anywhere, making them ideal for experimenting with placement.
Recessed-Panel Cabinets: The recessed area often provides a natural visual cue for knob placement, usually centered within the panel.
Raised-Panel Cabinets: Similar to recessed panels, the panel itself can guide placement. You might also consider placing the knob on the frame for a different look.
Shaker-Style Cabinets: These typically have a central panel and a frame. The most common placement is on the frame, either horizontally centered or slightly above the center.
The Importance of Symmetry and Balance
Our eyes are naturally drawn to symmetry. Consistent placement across all your cabinets creates a sense of order and polish. This means:
Horizontal Alignment: Ensure knobs on drawers are horizontally centered. For cabinet doors, you’ll typically align them vertically.
Vertical Alignment: For upper cabinet doors, place the knob at a consistent height. For lower cabinet doors and drawers, measure from the top edge.
Consistent Spacing: If you have double drawers or cabinets, ensure the knobs are spaced evenly and align with each other.
Ergonomics and Ease of Use
It might sound simple, but the placement needs to feel good in your hand.
Reachability: Knobs should be high enough to grab comfortably without straining, especially on lower cabinets and deep drawers.
Clearance: Ensure the knob doesn’t interfere with cabinet doors opening fully or hit adjacent walls or appliances.
Drawer Glides: For deep drawers, consider the drawer slide mechanism. You don’t want the knob to be so low that it’s hard to pull the drawer out.
Step-by-Step Guide to Perfect Knob Placement
Ready to get started? Here’s how to mark and install your new cabinet knobs with confidence.
What You’ll Need
Gathering the right tools makes the job much smoother.
Cabinet Knobs or Pulls: Your chosen hardware.
Drill: With drill bits suitable for your cabinet material (wood, MDF, etc.).
Measuring Tape: For precise measurements.
Pencil: For marking.
Painter’s Tape: To create a clean line and prevent splintering.
Template or Knob Jig (Recommended): These are invaluable for ensuring consistent, straight placement. You can buy them online or at hardware stores. A quick search for “cabinet knob jig” will show many options.
Screwdriver: To attach the knobs.
Level (Optional but helpful): To ensure knobs are perfectly straight.
Step 1: Measure and Mark for Cabinet Doors
This is where precision is key. We’ll focus on the most common placement for single-door cabinets.
1. Choose Your Vertical Position:
Upper Cabinets: A good starting point is 5 to 6 inches down from the top edge of the cabinet door. This height is generally comfortable for most people.
Lower Cabinets: Measure from the top edge of the cabinet door. A common placement is 2 to 3 inches down from the top.
2. Choose Your Horizontal Position:
Single Door: For most doors, you’ll want to center the knob horizontally. Find the exact center of the door’s width and mark your vertical line there.
3. Mark the Spot:
Use your measuring tape and pencil to mark the precise spot where the screw will go.
Pro Tip: Apply a small piece of painter’s tape over your mark. This helps prevent the wood from splintering when you drill. Mark the center of your spot on the tape.
Step 2: Measure and Mark for Drawers
Drawers often require a slightly different approach, especially for horizontal pulls.
1. Horizontal Position:
Center Placement: For knobs, find the exact horizontal center of the drawer front and mark your desired vertical position (usually 2-3 inches down from the top edge).
Edge Placement: Some prefer knobs placed closer to the edge for a different aesthetic. If so, measure 2-3 inches from one side edge (whichever feels more natural to open) and mark your vertical line there. Ensure consistency across all drawers.
2. Vertical Position:
Knobs: As with doors, measure 2-3 inches down from the top edge of the drawer front.
Pulls: If you’re using horizontal pulls, you’ll typically center them both horizontally and vertically on the drawer front. Measure the midpoint of the drawer’s width and height, and mark your screw hole locations accordingly.
3. Mark the Spot:
Again, use painter’s tape over your marks for a cleaner drilling experience.
Step 3: Drill the Hole
This is the moment of truth!
1. Select the Right Drill Bit: Most cabinet hardware comes with screws that fit standard drill bit sizes. If unsure, test on a scrap piece of wood. You want the bit to be the same diameter as the screw thread, not the head.
2. Drill Straight:
Hold the drill perpendicular to the cabinet surface.
Drill slowly and steadily.
Drill only as deep as the screw needs to go. You don’t want to drill through the other side of the cabinet door or drawer front. A depth stop on your drill bit is very helpful here.
3. Remove Tape: Carefully peel off the painter’s tape. You should have a clean pilot hole.
Step 4: Install the Knob
Almost there!
1. Insert the Screw: From the inside of the cabinet door or drawer, insert the screw through the hole.
2. Attach the Knob: Screw the knob onto the screw from the outside.
3. Tighten: Tighten the screw with your screwdriver until the knob is snug and secure. Be careful not to overtighten, which could strip the screw or damage the cabinet.
Common Placement Charts and Visuals
Visual aids can be incredibly helpful. Here are some common and recommended placements:
Upper Cabinet Doors
Standard Placement: Horizontally centered on the door, and vertically about 2-3 inches from the top edge.
Alternative: For doors with decorative panels, placement might be centered within the panel itself.
Here’s a general guideline:
| Cabinet Type | Horizontal Placement | Vertical Placement | Notes |
|---|---|---|---|
| Upper Cabinet Door (Single) | Center of the door width | 2-3 inches from the top edge | Ensures easy reach and balanced look. |
| Upper Cabinet Door (Double) | Center of each door | 2-3 inches from the top edge | Align vertically with each other and the cabinet frame. |
Lower Cabinet Doors and Drawers
Standard Placement: Horizontally centered, and vertically about 2-3 inches from the top edge.
Drawers: For longer drawers, consider a pull placed horizontally, centered on the drawer.
Here’s a general guideline:
| Cabinet Type | Horizontal Placement | Vertical Placement | Notes |
|---|---|---|---|
| Lower Cabinet Door (Single) | Center of the door width | 2-3 inches from the top edge | Comfortable grip. |
| Lower Cabinet Door (Double) | Center of each door | 2-3 inches from the top edge | Consistent spacing and vertical alignment. |
| Drawer (Knob) | Center of the drawer width | 2-3 inches from the top edge | Easy to grip and pull. |
| Drawer (Pull) | Center of the drawer width | Center of the drawer height | Most common for longer pulls, provides leverage. |
Special Considerations for Specific Cabinet Types
Appliance Garages: Often have a slightly higher placement to clear countertop items.
Trash Pull-Outs: The knob or pull is usually placed on the drawer front, centered horizontally, and about 2-3 inches from the top for easy access.
Corner Cabinets: If they have a false front, you might place the knob on the false front, centered. If it’s a true door, treat it like a standard door.
Tall Pantry Doors: You might opt for a slightly higher placement on these, perhaps 5-7 inches from the top, for easier reach.
Choosing Between Knobs and Pulls
The type of hardware you choose can influence placement and the overall kitchen aesthetic.
Knobs:
Pros: Classic, versatile, often easier to install (only one hole needed), great for smaller doors and drawers.
Cons: Can be harder to grip for those with dexterity issues, might not offer as much leverage on larger drawers.
Pulls (Handles):
Pros: Offer better grip and leverage, can make a bigger design statement, excellent for drawers and larger doors.
Cons: Require two screw holes, so precise measurement is even more critical.
Placement Differences for Pulls
When using pulls, the most common placement is:
Doors: Horizontally centered, and vertically aligned with the top edge, typically 2-3 inches down. Some prefer to center them vertically on the door panel itself if it’s a large door.
Drawers: Centered both horizontally and vertically on the drawer front. For very long drawers, some people opt for two pulls for balance and ease of use.
Tips for Perfect Placement Every Time
To avoid mistakes and achieve a professional look:
Use a Template/Jig: Seriously, this is the best investment for consistent placement. Many are adjustable for different knob and pull sizes. For example, Rockler Woodworking offers a variety of jigs that are highly rated by DIYers.
Measure Twice, Drill Once: This old adage is crucial here. Double-check all your measurements before making any holes.
Test on a Scrap Piece: If you’re unsure about placement or the drilling process, grab a piece of scrap wood or an old cabinet door and practice.
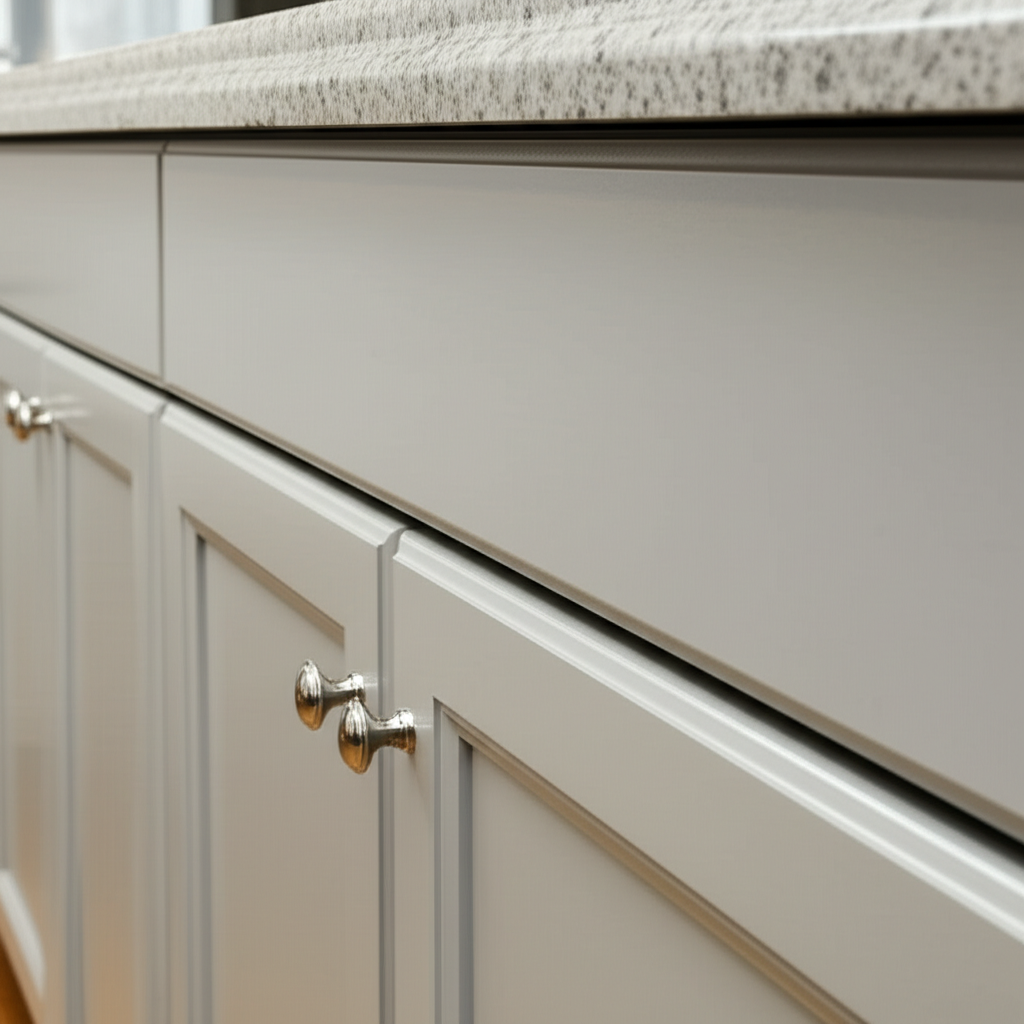
Consider Your Cabinet Hardware Finish: The finish can subtly affect how the hardware looks against your cabinets. Brushed nickel, matte black, and brass are popular choices that can complement various cabinet styles.
Visualize: Hold the knob or pull up to the cabinet door or drawer before marking to get a feel for how it looks.
Dealing with Existing Holes
If you’re replacing hardware, you might already have holes.
Matching Spacing: If the old hardware is the same type (e.g., two-hole pull to two-hole pull), measure the distance between the existing holes (the “on-center” measurement). This will guide your new placement.
Covering Old Holes: If your new hardware has a different hole spacing, or you’re switching from knobs to pulls (or vice versa), you might need to fill the old holes. Wood filler and a bit of touch-up paint or stain can work wonders. You can find detailed guides on filling holes from resources like This Old House.
* Larger Backplates: Sometimes, a new pull with a larger backplate can cover existing holes without needing filler.
FAQ About Cabinet Knob Placement
Q: What is the standard height for cabinet knobs?
A: For upper cabinet doors, a common height is 2 to 3 inches down from the top edge. For lower cabinets and drawers, it’s also typically 2 to 3 inches from the top edge, centered horizontally.
Q: Should I put knobs or pulls on my kitchen cabinets?
A: It depends on your preference and the cabinet style. Knobs are classic and work well on smaller doors. Pulls offer better leverage, especially on drawers and larger cabinet doors, and can make a bigger design statement. Many kitchens use a mix of both.
Q: Where should I place knobs on double cabinet doors?
A: For double doors, place a knob centered horizontally on each door. Align them vertically about 2 to 3 inches down from the top edge, ensuring they are level with each other.
Q: How do I make sure my knobs are straight?
A: Use a measuring tape and pencil to mark your placement. Applying painter’s tape over the mark before drilling helps create a clean hole. Using a template or knob jig is the most foolproof way to ensure perfect alignment and straightness.
Q: Can I mix knobs and pulls in my kitchen?
A: Absolutely! Many designers successfully mix knobs and pulls. A common approach is to use pulls on drawers and larger cabinet doors, and knobs on smaller upper cabinet doors. Ensure the styles and finishes complement each other.
Q: What if I have recessed or raised panels on my cabinets?
A: For recessed panels, many people choose to center the knob or pull within the recessed area for a clean look. For raised panels, placing the hardware on the frame or centered within the panel are both popular options. Consider the overall design of the panel.
Conclusion: Your Beautifully Updated Kitchen Awaits
Updating your kitchen hardware might seem like a small task, but the impact is truly amazing. By carefully considering placement, using the right tools, and following these simple steps, you can achieve a polished, professional look that enhances both the beauty and functionality of your kitchen. Remember, consistency is key, and a little bit of precision goes a long way. So go ahead, embrace the DIY spirit, and transform your kitchen with perfectly placed knobs and pulls. Your kitchen is the heart of your home, and now it will have the beautiful details to match!