

Make your own rich, flavorful malt vinegar at home with this surprisingly simple recipe! Discover the “secret” to achieving that classic tangy taste and cloudy appearance, perfect for fish and chips or homemade sauces. It’s easier than you think!
Ever stared at a bottle of malt vinegar and wondered what makes it so uniquely delicious? Maybe you’ve dreamt of replicating that perfect fish and chips experience at home, or perhaps you’re looking to add a gourmet touch to your homemade dressings and marinades. The good news is, you don’t need a fancy commercial setup to create this kitchen staple. Making malt vinegar from scratch is a wonderfully rewarding process, and the “secret” isn’t as complicated as you might imagine. It’s all about patience and understanding a few simple fermentation steps. We’re here to guide you, step-by-step, from basic ingredients to a beautiful bottle of homemade malt vinegar. Get ready to impress yourself and your taste buds!
Unlocking the Magic: What Exactly IS Malt Vinegar?
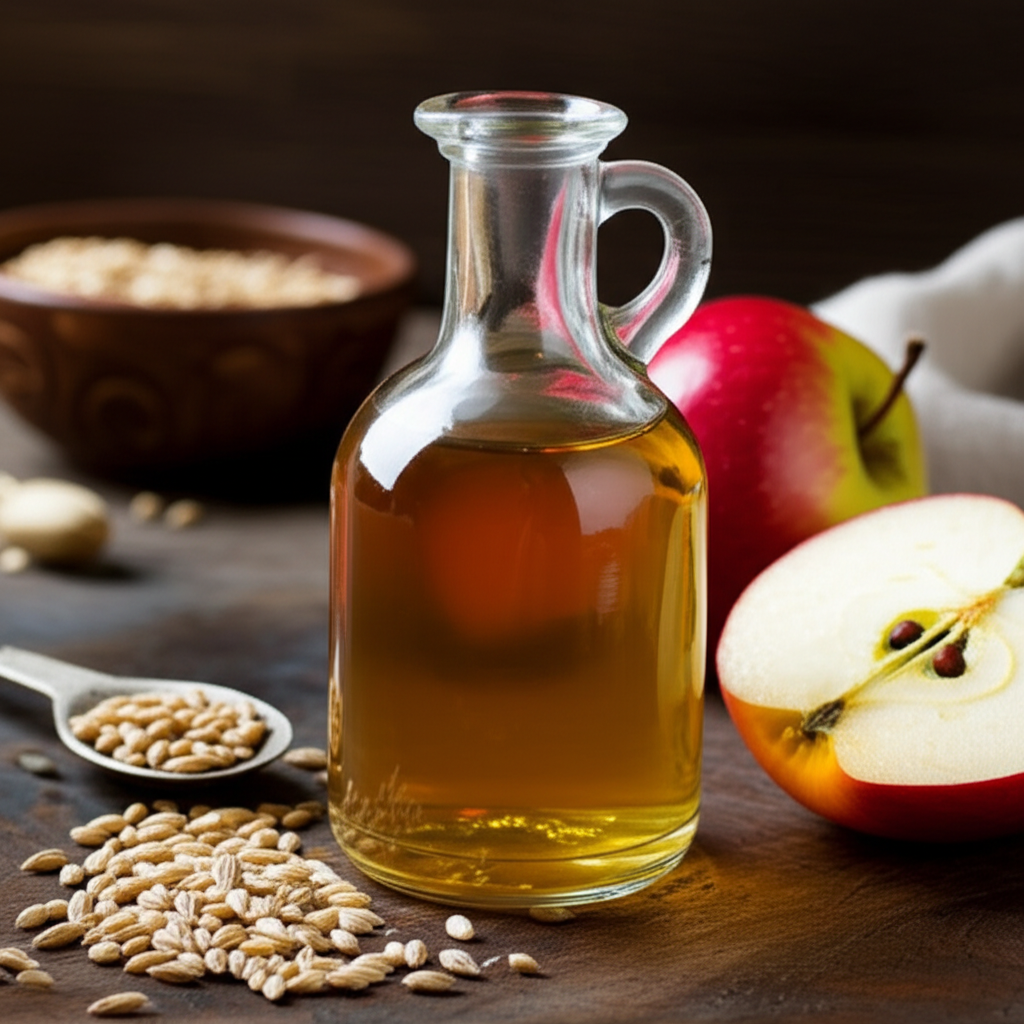
Before we dive into the “how-to,” let’s demystify malt vinegar. Unlike white vinegar or apple cider vinegar, malt vinegar gets its distinctive character from malted barley. This process involves germinating barley grains (malting), then kilning them to stop germination and develop flavor. These malted grains are then mashed with water to create a sugary liquid, which is fermented by yeast into an alcoholic beverage (similar to beer). Finally, this “vinegar beer” is further fermented by acetic acid bacteria, transforming the alcohol into acetic acid – the key component of vinegar.
The result? A robust, slightly sweet, and deeply savory vinegar with a characteristic cloudy appearance and a robust, malty aroma. It’s the traditional choice for many classic dishes and a fantastic addition to any culinary arsenal.
The “Secret” Revealed: It’s All About Fermentation
The “amazing secret” to making truly great malt vinegar at home isn’t a complex chemical reaction or a rare ingredient. It’s the controlled, natural process of fermentation, guided by a few key principles. You’ll be relying on two types of microscopic helpers:
- Yeast: This little wonder worker eats sugars and produces alcohol (and carbon dioxide).
- Acetic Acid Bacteria: These diligent microbes then consume the alcohol and, with the help of oxygen, convert it into acetic acid – our vinegar!
The beauty of this recipe lies in its simplicity and the use of readily available ingredients, allowing nature to do most of the heavy lifting. We’ll provide the right conditions, and the magic will happen!
Gathering Your Ingredients: The Foundation of Flavor
For a successful malt vinegar recipe, you’ll need a few key items. Think of these as your essential kitchen tools for a successful DIY project. Having everything ready before you start makes the process smooth and enjoyable.
Essential Ingredients:
- Malted Barley Extract (or Malt Syrup): This is the heart of your malt vinegar. Look for liquid malt extract (LME) in health food stores, home brewing supply shops, or online. It provides the sugars for fermentation and the characteristic malty flavor.
- Water: Use filtered or dechlorinated water. Chlorine can inhibit the growth of beneficial bacteria and yeast. To dechlorinate tap water, simply let it sit out in an open container for 24 hours.
- Active Dry Yeast: Any standard bread yeast or brewer’s yeast will work.
- Mother of Vinegar (Optional but Recommended): This is a SCOBY (Symbiotic Culture Of Bacteria and Yeast) that has already produced vinegar. It significantly speeds up the acetification process and ensures you’re cultivating the right bacteria. You can buy one online or get a bit from a friend who makes vinegar. If you don’t have a mother, don’t worry – the vinegar will still form, it just might take a little longer.
- Raw, Unpasteurized Vinegar (Optional): A small amount of raw, unpasteurized vinegar (like organic apple cider vinegar with “the mother”) can also help introduce the necessary acetic acid bacteria if you don’t have a dedicated mother.
Equipment You’ll Need:
- Large Glass Jar or Food-Grade Container: At least 1-gallon capacity. Glass is ideal as it’s non-reactive and easy to clean.
- Airlock and Stopper (Recommended): For the initial fermentation, an airlock allows CO2 to escape while preventing oxygen and contaminants from entering.
- Breathable Cover: If not using an airlock, a piece of cheesecloth, a clean tea towel, or coffee filter secured with a rubber band will work. This allows airflow while keeping out dust and insects.
- Measuring Cups and Spoons
- Stirring Spoon (Non-metallic): Wood or plastic is best.
- Bottles with Lids: For storing your finished vinegar.
- Funnel
The Step-by-Step Malt Vinegar Recipe: Your Kitchen Adventure Begins!
Now, let’s get brewing! This recipe is broken down into simple, manageable steps. Remember, patience is your best friend in the world of fermentation. Embrace the process, and you’ll be rewarded.
Phase 1: Creating the “Vinegar Beer” (Alcoholic Fermentation)
This is where we create the sugary liquid that yeast will feast on.
- Prepare Your Vessel: Thoroughly clean and sanitize your large glass jar or container. If using an airlock, fit it into the stopper and insert it into the jar’s opening.
- Mix the Wort: In your sanitized jar, combine 1 cup of malted barley extract with 1 gallon of lukewarm (around 75-80°F or 27-29°C) dechlorinated water. Stir until the extract is completely dissolved. This sugary liquid is often called “wort” in brewing.
- Add Yeast: Sprinkle about 1/4 teaspoon of active dry yeast over the surface of the wort. You don’t need to stir it in; it will hydrate and begin to work.
- Initial Fermentation: Cover the opening of the jar with your breathable cover (cheesecloth, etc.) secured with a rubber band, or seal it with the stopper and airlock. Place the jar in a warm, dark place (around 70-80°F or 21-27°C).
- Observe the Magic: Within 24-48 hours, you should see signs of fermentation: bubbles forming, and the liquid becoming cloudy. If using an airlock, you’ll see it bubbling. This stage typically lasts for 5-7 days.
- First Transfer (Optional but Recommended): After about a week, most of the vigorous bubbling will have subsided. You can carefully siphon or pour the liquid into a second sanitized jar, leaving behind any sediment (lees) at the bottom. This helps to clarify the final product and ensures a cleaner fermentation. If you don’t have a second jar or want to keep it super simple, you can leave it in the original jar.
Phase 2: The Vinegar Conversion (Acetification)
This is where the real transformation happens, thanks to those amazing acetic acid bacteria!
- Introduce the “Mother” (or Starter Vinegar):
- With a Mother: Gently place your mother of vinegar into the fermented liquid.
- Without a Mother: Add about 1/2 cup of raw, unpasteurized vinegar (like the organic apple cider vinegar mentioned earlier) to the fermented liquid.
- Ensure Airflow: Cover the jar opening with a breathable cloth (cheesecloth, tea towel) secured with a rubber band. This is crucial! Acetic acid bacteria need oxygen to convert alcohol into acetic acid. Do NOT use an airtight lid at this stage.
- Find the Right Spot: Place the jar in a warm (70-80°F or 21-27°C), dark, and undisturbed location. A pantry, a cupboard, or a quiet corner works well. Avoid areas with strong odors, as vinegar can absorb them.
- Patience is Key: This is the longest part of the process. It can take anywhere from 2 weeks to 2 months, or even longer, depending on the temperature, the health of your starter culture, and airflow. You’ll notice the liquid slowly becoming more acidic and developing that characteristic vinegary smell. A new “mother” may start to form on the surface, looking like a gelatinous, cloudy film.
- Taste Testing: After about 3-4 weeks, you can start tasting your vinegar. Gently dip a clean spoon into the liquid (try not to disturb the mother, if visible) and taste. It should be increasingly tart. When it reaches a flavor you enjoy – typically around 4-6% acidity (which you can’t measure without a pH meter, but you’ll taste it!) – it’s ready.
Phase 3: Bottling and Aging
Your homemade malt vinegar is almost ready to use!
- Strain the Vinegar: Once your vinegar has reached the desired taste, carefully strain it through a fine-mesh sieve lined with cheesecloth into a clean bowl or pitcher. This removes any sediment or stray bits of the mother.
- Bottle It Up: Using a funnel, pour the finished malt vinegar into clean, sterilized bottles with tight-fitting lids.
- Storage: Store your bottled malt vinegar in a cool, dark place. It will continue to mature and develop flavor over time.
- “Mother” Storage: If you created a mother, you can store it in a small amount of your finished vinegar in a separate jar in the refrigerator. This “mother starter” can be used to make your next batch!
Understanding the Process: Key Factors for Success
Achieving a great batch of malt vinegar often comes down to understanding a few crucial elements. Don’t be discouraged if your first attempt isn’t perfect; each batch is a learning experience!
Temperature Control
Temperature plays a vital role in both fermentation stages. For the initial alcoholic fermentation, a steady temperature between 70-80°F (21-27°C) is ideal for yeast activity. For the acetification stage, the acetic acid bacteria also thrive in this warmer range. If your environment is too cool, fermentation will slow down significantly or stop altogether. If it’s too hot, you risk encouraging unwanted bacteria.
Airflow vs. Oxygen
This is a critical distinction. During the alcoholic fermentation (Phase 1), you want to allow carbon dioxide (a byproduct of yeast) to escape but prevent oxygen from entering. This is why an airlock is ideal. Once you move to the vinegar conversion stage (Phase 2), oxygen becomes your best friend! Acetic acid bacteria need a constant supply of oxygen to convert alcohol into acetic acid. This is why a breathable cover is essential. Think of it as allowing your vinegar to “breathe” and do its work.
Sanitation
While we’re encouraging natural fermentation, it’s still important to maintain good hygiene. Thoroughly cleaning and sanitizing your equipment (jars, spoons, funnels) prevents the growth of mold or undesirable bacteria that could spoil your batch. You don’t need commercial sanitizers; hot, soapy water followed by a thorough rinse, or a diluted vinegar rinse, is usually sufficient for home use. For the best results, ensure all surfaces that touch the fermenting liquid are as clean as possible.
The Role of the “Mother”
A “mother of vinegar” is essentially a culture of acetic acid bacteria and cellulose that forms a mat on the surface of fermenting liquid. It acts as a powerful starter culture, introducing a robust population of the right bacteria to your brew. This significantly speeds up the conversion of alcohol to vinegar and helps ensure a consistent, high-quality product. If you don’t have a mother, using raw, unpasteurized vinegar with live cultures is the next best thing.
Troubleshooting Common Malt Vinegar Making Issues
Even with the best intentions, you might encounter a few hiccups. Here are some common problems and how to address them:
Problem: No Bubbling in Phase 1
- Possible Cause: Yeast is dead or inactive; water is too hot or too cold; lack of sugar (though unlikely with malt extract).
- Solution: Ensure your water is lukewarm (75-80°F). Try proofing your yeast separately in a small amount of warm water with a pinch of sugar before adding it to the main batch.
Problem: Mold Growth on the Surface
Possible Cause: Insufficient airflow; contamination; temperature too low. Mold is typically fuzzy and comes in various colors (green, black, white). This is different from the smooth, gelatinous film of a vinegar mother.
- Solution: If you see mold, it’s best to discard the batch and start over, ensuring better sanitation and adequate airflow. A healthy vinegar mother formation should prevent mold.
Problem: Vinegar Tastes “Off” or Smells Unpleasant
Possible Cause: Presence of undesirable bacteria; too much airflow at the wrong stage; absorption of strong odors from the environment.
- Solution: Ensure you are using a breathable cover, not an airtight one, during the acetification stage. Keep the fermenting vinegar away from strong smells. If it smells truly rotten or unpleasant, it’s likely spoiled and should be discarded.
Problem: Acetification is Taking Too Long
Possible Cause: Temperature too low; insufficient oxygen; weak starter culture.
- Solution: Ensure the fermentation environment is consistently warm (70-80°F). Make sure the breathable cover is clean and allowing good airflow. If using a weak starter, it may just take longer.
Malt Vinegar Uses: Beyond the Fish and Chips
Once you’ve mastered making your own malt vinegar, you’ll discover its versatility in the kitchen. It’s not just for fried foods!
Culinary Applications:
- Marinades: The acidity tenderizes meat and adds a lovely depth of flavor.
- Dressings and Vinaigrettes: A staple for classic salad dressings, especially with olive oil and Dijon mustard.
- Sauces: Adds tang and complexity to BBQ sauces, steak sauces, and glazes.
- Pickling: Use it in brine for pickled onions, cucumbers, or other vegetables.
- Deglazing: After sautéing, deglazing a pan with malt vinegar can create a flavorful base for sauces.
- Traditional Pairings: Of course, it’s the perfect accompaniment to fish and chips, steak and kidney pies, and Scotch eggs.
Nutritional and Health Considerations
Like other vinegars, malt vinegar is primarily acetic acid, water, and trace minerals from its source ingredients. It contains very few calories and no fat or carbohydrates in its final form. While it’s often touted for various health benefits (like aiding digestion or blood sugar control), these claims are generally based on studies of vinegar consumption in general, not specifically malt vinegar. As with any dietary change, it’s best to consume it in moderation as part of a balanced diet. For more detailed information on the health aspects of vinegar, resources from reputable institutions like the National Institutes of Health (NIH) can provide scientific context.
Storing and Shelf Life
Homemade malt vinegar, when properly bottled and stored, has an excellent shelf life. Due to its acidity, it’s naturally preserved and resistant to spoilage.
- Storage: Keep bottled malt vinegar in a cool, dark place, such as a pantry or cupboard.
- Shelf Life: Properly stored, homemade malt vinegar can last for years, even indefinitely. Its flavor may evolve over time, becoming mellower or more complex.
- Refrigeration: While not strictly necessary for preservation, refrigerating after opening can help maintain its potency and flavor profile for longer, especially if your storage area isn’t consistently cool and dark.
Frequently Asked Questions about Making Malt Vinegar
Q1: Can I use regular barley instead of malted barley extract?
A1: While you can technically make vinegar from regular barley, it’s much more complex. You would need to perform the malting process yourself (germinating and kilning the barley) to develop the necessary enzymes and sugars for fermentation. Malted barley extract is a convenient shortcut that provides these essential components.
Q2: How do I know if my malt vinegar is safe to consume?
A2: Safe malt vinegar will have a pleasant, tangy, vinegary aroma and taste. If you notice any fuzzy mold on the surface (distinct from the smooth, gelatinous mother), or if it smells rotten, yeasty, or otherwise unpleasant, it’s best to discard it. Proper sanitation and adequate airflow are key to preventing spoilage.
Q3: What’s the difference between a vinegar mother and a SCOBY?
A3: A SCOBY (Symbiotic Culture Of Bacteria and Yeast) is the term often used for the culture used to make kombucha. A vinegar mother is specifically a culture of acetic acid bacteria, often forming a cellulose pellicle (the “mother”). While both are microbial communities that aid fermentation, they are optimized for different end products (kombucha vs. vinegar).
Q4: My vinegar is cloudy. Is that normal?
A4: Yes, a certain cloudiness is normal and even desirable in homemade malt vinegar. It indicates the presence of the acetic acid bacteria and other beneficial compounds. Straining it will remove most of the solids, but a slight haze will likely remain, contributing to its authentic character.
Q5: How long does it take for malt vinegar to be ready?
A5: The entire process, from mixing the wort to having ready-to-use vinegar, can take anywhere from 4 weeks to 3 months or even longer. The acetification phase (Phase 2) is the longest, and its duration depends heavily on ambient temperature and the strength of your starter culture.
Q6: Can I use plastic containers for fermentation?
A6: While you can use food-grade plastic, glass is generally preferred for fermentation. Plastic can sometimes absorb odors or harbor bacteria more easily, and some plastics can leach chemicals if not food-grade or if exposed to acidic conditions for extended periods. Always opt for high-quality, BPA-free, food-grade plastic if glass isn’t an option.
A Taste of Tradition, Made by You
There’s a unique satisfaction that comes from creating something delicious and useful in your own kitchen. Making malt vinegar from scratch is a journey into the fascinating world of fermentation, connecting you to age-old culinary traditions. You’ve learned that the “secret” is simply understanding the natural processes and providing the right environment for your microscopic helpers to work their magic. From the initial bubbling of yeast to the slow, steady transformation by acetic acid bacteria, each step brings you closer to a bottle of rich, flavorful malt vinegar that you can be proud of.
So go ahead, gather your ingredients, and embark on this rewarding kitchen adventure. Whether it’s for that perfect plate of fish and chips, a vibrant salad dressing, or a flavorful marinade, your homemade malt vinegar will be a testament to your culinary curiosity and patience. Enjoy the process, savor the results, and perhaps even share your creation with friends and family. Happy fermenting!