

Bolded Quick Summary: Learn how to brine olives at home with our simple, step-by-step recipe! Transform fresh, bitter olives into delicious, brine-cured treats with just a few basic ingredients. This easy method unlocks amazing flavor and is perfect for any kitchen beginner.
Ever bitten into a fresh olive straight from the tree and been met with a surprisingly bitter taste? It’s a common kitchen surprise! Many people think olives are only available from a jar, but the truth is, you can easily transform those puckeringly bitter fruits into the briny, flavorful delights we know and love right in your own kitchen. It’s a rewarding process that doesn’t require fancy equipment or complex techniques. Get ready to discover the simple secret to brining your own olives, and impress yourself and your guests with this delightful culinary skill.
Unlock the Flavor: Your Guide to Brining Olives
The magic of brining olives is all about transformation. Freshly picked olives, often called “green olives” before they ripen further, are naturally packed with a compound called oleuropein, which gives them their intense bitterness. Brining is a natural process that leaches out this bitterness, replacing it with a delicious salty, tangy flavor. It’s a time-honored method that’s surprisingly simple to replicate at home. Think of it as giving your olives a spa treatment, leaving them refreshed, delicious, and ready to be enjoyed in salads, on antipasto platters, or even straight from the jar!
Why Brine Your Own Olives?
There are so many wonderful reasons to try brining olives yourself:
- Superior Flavor: You have complete control over the saltiness and the flavor infusions, creating a taste profile that’s uniquely yours.
- Cost-Effective: Brining your own olives can be significantly cheaper than buying pre-brined varieties, especially if you have access to fresh olives.
- Educational & Rewarding: It’s a fantastic way to connect with your food and understand a traditional preservation technique.
- Customization: Add herbs, garlic, chili flakes, or citrus zest to create your signature olive blend.
- Freshness: Enjoy the satisfaction of knowing exactly what goes into your food.
Gather Your Essentials: What You’ll Need
Before we dive into the step-by-step process, let’s make sure you have everything ready. Think of this as setting up your kitchen workspace for success, just like preparing your counters for a new backsplash. Having all your tools and ingredients at the ready makes the whole process smooth and enjoyable.
Ingredients:
- Fresh, firm green olives (any variety you can find, like Manzanilla or Mission)
- Filtered water (using filtered water helps ensure a cleaner brine and better flavor)
- Non-iodized salt (kosher salt or sea salt works best; iodized salt can sometimes affect the brine clarity and flavor)
- Optional flavorings: fresh garlic cloves, bay leaves, peppercorns, fresh herbs (rosemary, thyme), chili flakes, lemon slices.
Equipment:
- Large, non-reactive bowls or containers (glass, ceramic, or food-grade plastic)
- Clean glass jars with lids for storing the brined olives
- A small knife or mallet for cracking olives (optional, but speeds up the process)
- Measuring cups and spoons
- A fine-mesh sieve or colander
- A pot for boiling water (if using the boiling water method for initial curing)
The Step-by-Step Brining Process: From Bitter to Blissful
This is where the magic happens! We’ll break down the process into easy-to-follow steps. Remember, patience is key here; brining takes time, but the results are absolutely worth it.
Step 1: Prepare Your Olives
This is the crucial first step to removing that natural bitterness. You have a couple of options:
Option A: The Gentle Soak (Longer Method)
This method is very hands-off but takes longer. You’ll be changing the water daily for about 1-3 weeks, or until the olives are no longer bitter when tasted. The key is consistent water changes.
- Rinse your fresh olives thoroughly under cool running water.
- Place the olives in a large, non-reactive bowl.
- Cover the olives completely with fresh, cool water.
- Cover the bowl and leave it at room temperature.
- Every day, drain the water and replace it with fresh water.
- Taste an olive every few days (after the first week) to check for bitterness. When they taste pleasantly tangy and not overwhelmingly bitter, they are ready for the next step.
Option B: The Quick Crack or Cut (Faster Method)
This method speeds up the bitterness removal by creating small openings in the olive’s skin. This is a popular method for home briners.
- Rinse your fresh olives thoroughly.
- Place olives one by one on a clean cutting board.
- Use the flat side of a chef’s knife or a small mallet to gently tap or “smash” each olive. You want to crack the skin without completely crushing the olive. A small cut with a sharp knife also works.
- Place the cracked olives in a large, non-reactive bowl.
- Cover the olives completely with fresh, cool water.
- Cover the bowl and leave it at room temperature.
- Change the water daily, just as in Option A. The cracking speeds up the process, so you might be ready for the brine in 7-10 days, but still taste test daily after the first week.
Pro Tip: If you find yourself with a very large batch, consider using a food-grade plastic tub for soaking. Ensure it’s clean and designed for food contact.
Step 2: Create the Brine Solution
Once your olives are no longer bitter to taste, it’s time to prepare their new home: the brine. This salty water is what preserves them and infuses them with flavor.
- Drain the olives from their soaking water.
- In a clean pot, combine filtered water and non-iodized salt. A common ratio to start with is about 1/4 cup of salt per quart (4 cups) of water. This creates a roughly 6-8% brine solution. You can adjust this ratio to your preference later, but this is a good starting point.
- Stir the salt into the water until it is completely dissolved. You can gently heat the water to help the salt dissolve faster, but it’s not strictly necessary. If you heat it, let the brine cool completely before proceeding.
Understanding Brine Strength: The salt concentration in your brine is crucial for preservation. A standard brine strength for olives is typically between 5% and 10%. A 5% brine is about 3.5 tablespoons of salt per quart of water, while a 10% brine is closer to 7 tablespoons per quart. For home brining, starting around 6-8% is usually a safe and tasty bet. You can use a hydrometer for precise measurement if you’re feeling adventurous, but for most home cooks, the visual and taste cues are sufficient.
Step 3: Brine and Flavor Your Olives
Now, it’s time to let the brining process work its magic, and add those delicious flavorings!
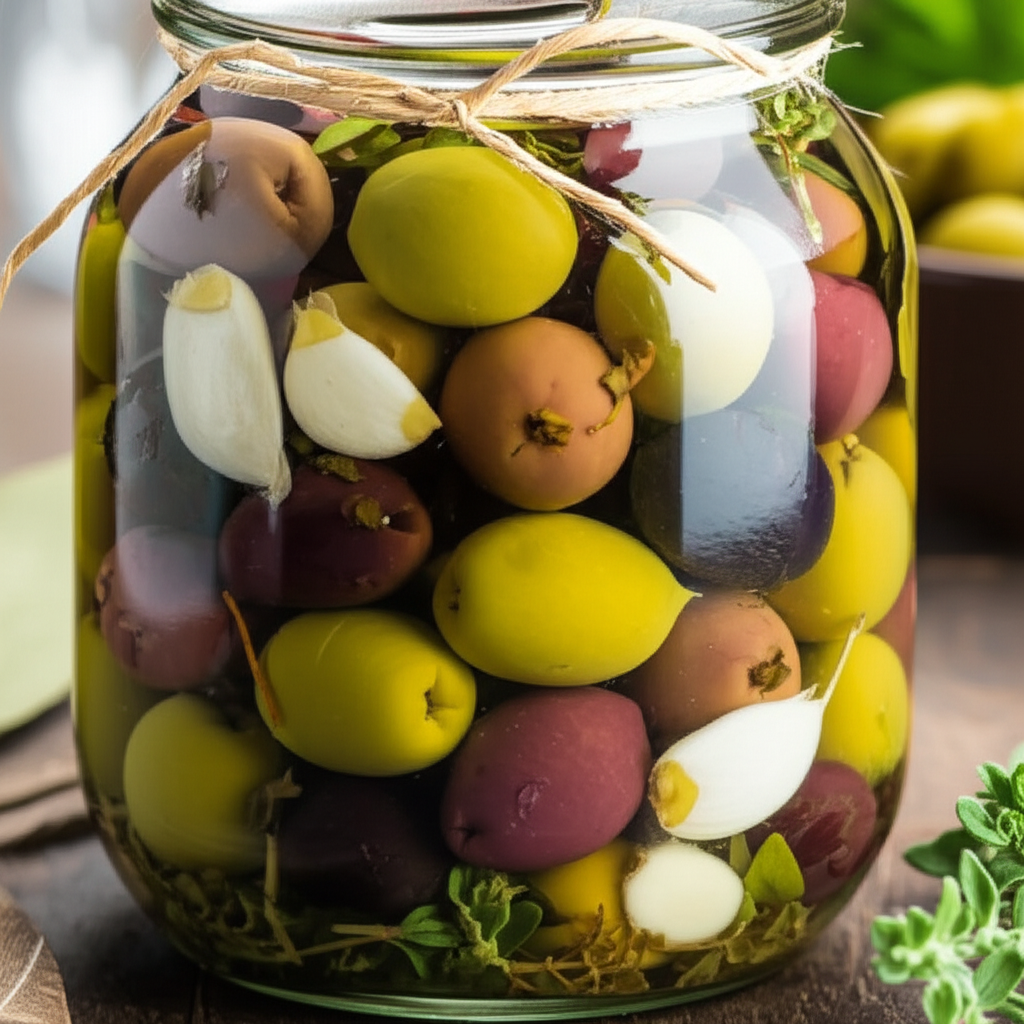
- Place your desensitized olives into clean glass jars. Don’t pack them too tightly; leave some room for the brine to circulate.
- Add your chosen flavorings to the jars. This is where you can get creative! Some popular additions include:
- 2-3 cloves of garlic, lightly smashed
- A sprig of fresh rosemary or thyme
- A few peppercorns
- A bay leaf
- A slice of lemon or orange
- A pinch of red pepper flakes for a touch of heat
- Pour the cooled brine solution over the olives, ensuring they are completely submerged. Leave about an inch of headspace at the top of the jar.
- Seal the jars tightly with lids.
- Label your jars with the date and any flavorings used.
Step 4: The Waiting Game (and What to Expect)
This is the most challenging part for some—waiting! The olives will continue to cure and develop flavor in the brine.
- Store the jars at cool room temperature for the first 1-2 weeks. This initial period allows fermentation to begin, which adds complexity to the flavor. You might see some cloudiness in the brine, which is normal.
- After 1-2 weeks, move the jars to the refrigerator.
- Your olives will typically be ready to eat after 4-6 weeks, but they will continue to improve with age. Taste them periodically to see how they’re developing.
Troubleshooting Tip: If you notice any signs of mold on the surface of the brine (which is different from harmless cloudy brine), carefully skim it off and ensure all olives are submerged. If mold is extensive or smells off, it’s best to discard that batch and start over, ensuring your equipment was thoroughly clean.
Brining vs. Curing: What’s the Difference?
While often used interchangeably, brining is a specific type of curing. Curing is a broader term for food preservation techniques that inhibit spoilage, often using salt, sugar, or smoking. Brining is a method of curing that specifically uses a salt and water solution. Other methods for curing olives include dry-curing (using salt and letting the olives draw out their own moisture) or lye-curing (a faster method using a caustic solution, which is less common for home cooks due to safety concerns).
A Comparison of Olive Brining Methods
Here’s a quick look at how different brining approaches stack up:
| Method | Time to Brine | Flavor Profile | Effort Level | Notes |
|---|---|---|---|---|
| Gentle Soak & Brine | 6-8 weeks total | Clean, classic olive flavor | Low (daily water change) | Best for beginners, very hands-off |
| Cracked/Cut & Brine | 5-7 weeks total | Slightly more intense flavor, faster | Medium (cracking olives takes time) | Speeds up bitterness removal |
| Boiling Water Soak & Brine | 3-5 weeks total | Can be slightly softer texture, quick bitterness removal | Medium (requires boiling) | A faster option for initial curing, but texture can be affected |
Expert Tips for Perfect Brined Olives
Drawing from years of kitchen wisdom, here are a few insider tips to elevate your brining game:
- Start with Quality Olives: The better the fresh olives, the better the final product. If possible, source them from a local farm or farmers’ market.
- Keep it Clean: Sanitize all your jars and equipment thoroughly. This is your best defense against unwanted bacteria or mold. A quick rinse with boiling water or a run through the dishwasher on a hot cycle can do the trick. For more rigorous sanitization, you can use a food-grade sanitizer.
- Submerge is Key: Always ensure your olives are fully submerged in the brine. If they float to the top, you can use a fermentation weight or a smaller jar filled with water to keep them down. Exposure to air can lead to spoilage.
- Taste, Taste, Taste: Don’t be afraid to taste your olives as they brine. This is how you’ll learn what you like best in terms of saltiness and flavor intensity.
- Experiment with Flavors: Once you’ve mastered the basic brine, play with different herb combinations, spices, and even a splash of vinegar or brine from other fermented foods for added complexity.
- Proper Storage: Always store brined olives in the refrigerator once the initial room-temperature curing period is over. They can last for many months, even up to a year, in the fridge, though their flavor is best within the first few months.
The Science Behind the Brine: A Little Deeper Dive
Brining relies on a fascinating principle called osmosis. The high concentration of salt in the brine solution draws water out of the olive cells. As water leaves the olives, the bitter oleuropein compounds are also leached out. Simultaneously, the salt penetrates the olive flesh, creating an environment where spoilage-causing microorganisms cannot thrive. This is why salt is such a vital component for preservation. For a more in-depth look at the science of food preservation, resources from university extension programs, such as those found on USDA NIFA, offer valuable insights into safe food handling and preservation techniques.
Frequently Asked Questions About Brining Olives
We’ve gathered some common questions from home cooks just like you!
- Q1: Can I use table salt to brine olives?
- While you can, it’s not ideal. Table salt often contains iodine and anti-caking agents that can make your brine cloudy and affect the flavor. Kosher salt or sea salt (non-iodized) are the best choices for a clear brine and pure olive taste.
- Q2: My olives are still bitter after several weeks. What did I do wrong?
- This usually means the bitterness hasn’t fully leached out. Continue changing the soaking water daily (if using the soak method) or ensure your cracked olives are in fresh water. The oleuropein content can vary significantly between olive types and ripeness, so sometimes it just takes longer. Keep tasting!
- Q3: How long do brined olives last?
- Once stored in the refrigerator, properly brined olives can last for many months, often up to a year. However, their flavor is usually at its peak within the first 3-6 months.
- Q4: Can I brine ripe (black) olives?
- Yes, you can brine ripe olives, but they are already much less bitter than green olives. The brining process will primarily be for flavor and preservation, rather than significant bitterness removal. You might need a shorter soaking time if you’re starting with less bitter olives.
- Q5: What does “non-reactive bowl” mean?
- A non-reactive bowl is one that won’t interact with acidic or salty solutions, which could leach metals into your food or affect the taste. Glass, ceramic, stainless steel, and certain food-grade plastics are considered non-reactive. Avoid aluminum or copper bowls for brining.
- Q6: Can I reuse the brine?
- It’s generally not recommended to reuse brine for a new batch of olives, as the original brine will have had its salt content depleted and may contain residual compounds from the first batch. Always start with fresh brine for each new batch of olives.
Conclusion: Enjoy Your Homemade Olive Creations!
There you have it! You’ve unlocked the secret to transforming simple, fresh olives into a culinary treasure. From the initial satisfying crack of the olive skin to the slow, flavorful journey in the brine, this process is a delightful kitchen adventure. You’ve learned how to manage bitterness, create the perfect salty solution, and infuse your olives with personalized flavors. Now, your homemade brined olives are ready to be savored. Whether they grace your charcuterie board, enhance your salads, or become your go-to snack, the satisfaction of creating them yourself is truly the best ingredient. So go ahead, crack open a jar and taste the delicious difference that a little patience and a simple recipe can make. Happy brining!