

There’s something incredibly satisfying about baking bread at home, especially when you pull out a perfectly risen loaf that fills your kitchen with warmth and mouthwatering aromas. Whether it’s a classic sandwich bread or a rustic artisan loaf, knowing your bread tin size is key to achieving that golden crust and fluffy interior. You’ll want to have the right dimensions to make your baking dreams come true!
In this guide, you’ll find a comprehensive bread tin size chart with details on dimensions, volumes, and recommended recipes for each size. Expect clear instructions on adjusting your recipes based on tin size, plus practical tips to tackle any hiccups along the way.
History of Bread Tins
The evolution of bread tins is a fascinating story that highlights their significance in the world of baking. Initially developed to create uniform loaves, these baking vessels have transformed alongside culinary practices, making them essential tools for both home bakers and professionals alike.
- Origins of Bread Tins: Bread tins first appeared in the early 19th century with the advent of commercial baking. They allowed bakers to produce standardized shapes and sizes, ensuring even baking and consistent results. The introduction of materials such as tin and later, non-stick coatings, made them accessible and user-friendly.
- Types of Bread Tins Over Time: Over the years, bread tins have evolved in design and functionality. Originally made of metal, they now come in various materials like glass, silicone, and ceramic. Each type offers unique benefits, such as better heat conduction or easy release of baked goods. Additionally, different shapes—such as loaf pans, baguette tins, and Pullman pans—cater to diverse recipes and preferences.
Bread Tin Size Chart
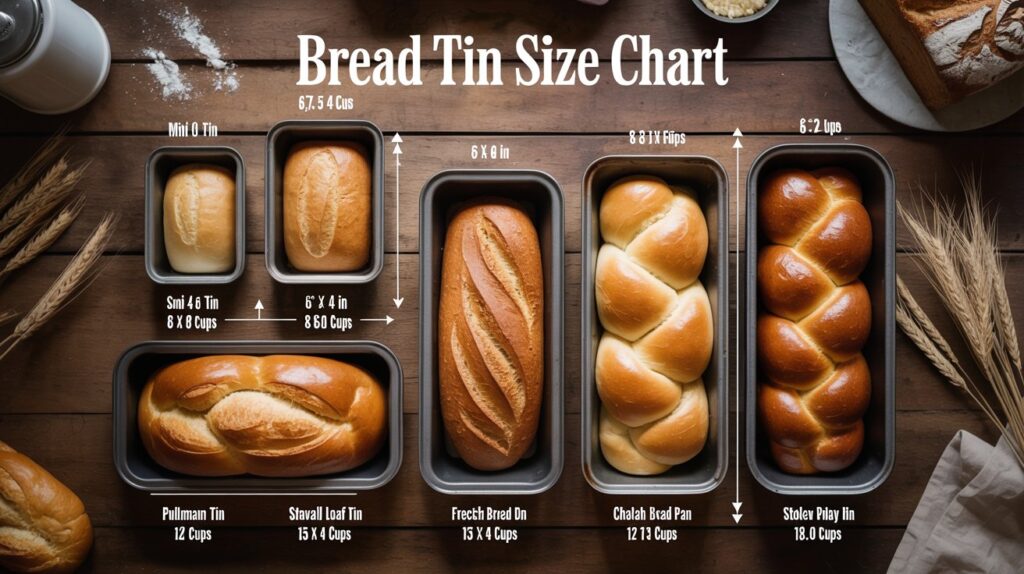
Understanding the different sizes of bread tins is crucial for any home baker. The right tin can significantly affect your bread’s texture, rise, and overall success. Below is a comprehensive chart detailing standard and specialty bread tin sizes, including their dimensions, volumes, and ideal bread recipes.
Standard Sizes
| Tin Type | Dimensions | Volume | Best For |
|---|---|---|---|
| Small loaf tin | 8 × 4 in (20 × 10 cm) | ~6 cups | quick breads |
| Standard loaf tin | 9 × 5 in (23 × 13 cm) | ~8 cups | sandwich bread |
| Pullman tin | 13 × 4 × 4 in | ~10 cups | square sandwich bread |
| Mini loaf tin | 5.75 × 3 in | ~2 cups | small loaves |
✔ 9×5 inch tins are the most common bread recipe size.
Specialty Sizes
- French Bread Pan: 15 x 5 inches, 12 cups, perfect for baguettes.
- Challah Pan: 18 x 4 inches, 10 cups, ideal for braided breads.
- Stollen Pan: 12 x 5 inches, 9 cups, great for festive holiday bread.
Pro tip: Always ensure your tin is greased or lined to prevent sticking, especially with sweeter breads.
Recommended Recipes by Size
Choosing the right recipe for your bread tin size can significantly affect the texture and rise of your baked goods. This section provides specific bread recipes tailored to various tin sizes, ensuring your loaves and quick breads come out perfectly every time.
Loaf Bread
- 9×5 inch (23×13 cm) tin: Classic White Bread
- 3 ½ cups all-purpose flour (420g)
- 1 packet (2 ¼ teaspoons) active dry yeast
- 1 ½ cups warm water (110°F/43°C)
Chef’s tip: Let the dough rise until doubled in size, about 1 hour. It should feel soft and pillowy.
- 8×4 inch (20×10 cm) tin: Whole Wheat Bread
- 2 cups whole wheat flour (240g)
- 1 cup all-purpose flour (120g)
- 1 ½ cups warm water (110°F/43°C)
Chef’s tip: Knead the dough until smooth and elastic, about 8-10 minutes.
Quick Breads
- 9×5 inch (23×13 cm) tin: Banana Bread
- 3 ripe bananas, mashed
- ½ cup melted butter (115g)
- 1 cup sugar (200g)
Chef’s tip: Bake at 350°F (175°C) for 60-65 minutes until a toothpick comes out clean.
- 8×4 inch (20×10 cm) tin: Zucchini Bread
- 1 cup grated zucchini (about 1 medium zucchini)
- ½ cup vegetable oil (120ml)
- 1 cup sugar (200g)
Chef’s tip: Check for doneness around 45-50 minutes; it should spring back when lightly pressed.
| 9×5 inch | Classic White Bread | 30-35 minutes |
| 8×4 inch | Wheat Bread | 25-30 minutes |
? Bread Tin Volume Guide
| Pan Size | Cups | Liters |
|---|---|---|
| 8 × 4 | 6 cups | 1.4 L |
| 9 × 5 | 8 cups | 1.9 L |
| Pullman | 10 cups | 2.4 L |
| Mini loaf | 2 cups | 0.5 L |
This chart helps adjust batter or dough quantities
Adjusting Recipes for Tin Size
Understanding how to adjust your recipes based on the size of your bread tin is crucial for achieving the perfect loaf. Using the right measurements and timing ensures that your bread rises properly and bakes evenly, regardless of the tin you have on hand.
- Scale Ingredients: Start by determining the volume of your bread tin. For example, a standard 9×5 inch loaf pan holds about 8 cups (1.9 liters). If you’re using a smaller tin, like a 8×4 inch pan, which holds about 6 cups (1.4 liters), reduce your ingredient amounts. Generally, reduce the recipe by about 25% for smaller tins and increase by 25% for larger ones. This ensures that the dough has enough room to rise without overflowing.
- Adjust Baking Times: Different tin sizes will also affect your baking times. Smaller tins may bake quicker, so start checking for doneness 5-10 minutes earlier than the original recipe suggests. A good indicator is to look for a golden-brown crust and to tap the bottom of the loaf; it should sound hollow when fully baked. If you’re using a larger tin, you may need to add an additional 10-15 minutes, but keep an eye on the crust to prevent burning.
Chef’s tip: Always use a toothpick to test for doneness; it should come out clean or with a few crumbs attached when the bread is fully baked.
Common Baking Mistakes
Understanding common baking mistakes when using bread tins can significantly improve your baking results. This section will cover two frequent errors: under or overfilling your tin and incorrect baking times, along with practical tips to avoid them.
- Underfilling the Bread Tin: If you fill your bread tin less than half full, the bread may not rise properly, resulting in a denser loaf. Always check the recommended fill level based on the tin size. A general rule of thumb is to fill the tin about 2/3 full to allow for proper rising and baking.
- Overfilling the Bread Tin: On the flip side, overfilling your tin can lead to dough spilling over during baking, which creates a mess and can affect the loaf’s texture. Ensure you follow the quantity guidelines for your specific tin size. If you notice that your batter is too high, consider using a larger tin or reducing the recipe amount.
- Incorrect Baking Times: Every bread tin can affect cooking times due to variations in size and material. Always check your bread about 5-10 minutes before the suggested baking time. The bread should be golden brown on top, and when tapped, it should sound hollow. If it’s still doughy in the center, return it to the oven, checking every few minutes.
- Ignoring the Oven Temperature: Baking at too low a temperature can lead to undercooked bread, while too high a temperature can cause the crust to burn before the inside is done. Use an oven thermometer to ensure accuracy, and preheat your oven to the recommended temperature, typically around 350°F (175°C) for most bread recipes.
Variations in Bread Tins
Understanding the different materials and shapes of bread tins is crucial for achieving the perfect loaf. The type of tin you use can significantly impact the baking time, texture, and overall appearance of your bread. Let’s break down the most common variations.
Metal vs. Glass
- Metal Tins: They conduct heat efficiently, leading to a well-browned crust. An aluminum tin can result in a crustier loaf, while a darker metal tin may yield a slightly quicker bake.
- Glass Tins: These provide a more even heat distribution but can take longer to heat up. Keep an eye on your bread, as it may need a few extra minutes in the oven.
Non-Stick Options
Non-stick bread tins offer the advantage of easy release, which is perfect for sticky doughs. However, it’s essential to grease these tins lightly before pouring in the batter to ensure a smooth removal.
Chef’s tip: If you’re using a non-stick tin, consider lowering the oven temperature by 25°F (about 15°C) to prevent over-browning.
| Metal | Crusty breads | Sourdough, Baguettes |
| Glass | Light, soft breads | White Sandwich Bread, Brioche |
| Non-Stick | Sticky doughs | Banana Bread, Zucchini Bread |
Choosing the right tin is an essential step in your bread-making process, so consider these variations to ensure success in your baking adventures!
Serving and Storing Bread
Properly serving and storing your homemade bread ensures that it maintains its delicious flavor and texture for longer. Whether you’ve baked a small loaf or a large one, knowing how to present and preserve it can make all the difference in your bread experience.
Serving Suggestions
- Slice your bread with a serrated knife to ensure clean cuts. Aim for slices that are about ½ inch thick, as this thickness is perfect for sandwiches or toast.
- Consider pairing your bread with spreads or toppings. For a savory option, try butter or olive oil; for something sweet, serve with honey or jam. Presentation matters, so arrange these on a small plate alongside your bread.
- Warm your bread slightly before serving by placing it in a 350°F (175°C) oven for about 5-10 minutes. This brings back the fresh-baked aroma and enhances the flavor.
Storage Tips
- Allow your bread to cool completely on a wire rack before storing. This prevents moisture buildup, which can lead to soggy bread.
- Wrap your bread tightly in plastic wrap or aluminum foil, or place it in a resealable plastic bag. For longer storage, consider using a bread box to maintain freshness while keeping it accessible.
- If you have leftover bread, freeze it to extend its shelf life. Slice the bread before freezing, so you can easily take out individual pieces as needed. Use a freezer-safe bag and consume within 3 months for best quality.
Quick Summary
| Prep Time | 10 minutes |
|---|---|
| Cook Time | 30-60 minutes |
| Total Time | 40-70 minutes |
| Servings | 1 loaf |
- Measure accurately: Use a kitchen scale for precise flour measurements.
- Choose the right tin: Refer to the size chart for optimal loaf volume.
- Preheat oven: Ensure the oven is set to the right temperature before baking.
- Check for doneness: Use a toothpick to test the center of the loaf.
- Let it cool: Allow bread to cool in the tin for 10 minutes before transferring.
- Tip on greasing: Always grease the tin to prevent sticking.
- Storage advice: Store bread in an airtight container to keep it fresh.
Frequently Asked Questions
Can I use a different bread tin size than what’s recommended?
You can use a different size, but be aware that it may affect the baking time. A larger tin may require a shorter baking time, while a smaller tin could need longer.
What can I substitute for a standard loaf tin?
If you don’t have a standard loaf tin (usually 9×5 inches), you can use an 8×4 inch tin or even a round cake pan. Just remember to adjust the baking time accordingly, as the shape affects heat distribution.
How do I know when my bread is done baking?
Your bread is done when it has a golden-brown crust and sounds hollow when tapped on the bottom. You can also use a thermometer; it should register 190°F to 200°F in the center.
Can I freeze my bread if I have leftover slices?
Yes, you can freeze your bread for up to 3 months. Just make sure to wrap it tightly in plastic wrap or aluminum foil to prevent freezer burn.
What if I don’t have a kitchen scale to measure my ingredients?
If you don’t have a kitchen scale, you can use volume measurements instead, but be cautious as this can lead to variations. A standard cup of flour weighs about 120 grams, so use that as a reference for conversions.