

The right light placement in your kitchen transforms it from functional to fabulous, impacting how you cook, entertain, and even feel in the space. Get it wrong, and shadows can hide messes or create a gloomy atmosphere. Get it right, and your kitchen feels welcoming, efficient, and beautiful.
Is your kitchen feeling a little dim, or maybe the lighting just isn’t quite right? You’re not alone! Many of us struggle with getting kitchen lighting perfect. It’s more than just picking a pretty fixture; it’s about how light affects your cooking, your mood, and how your kitchen looks and feels. Don’t worry, though! We’re here to demystify kitchen lighting and reveal the secrets to making your kitchen shine, one bulb at a time.
What is Kitchen Lighting and Why Does it Matter?
Kitchen lighting is the strategic use of artificial light sources to illuminate your kitchen space. It’s crucial because it directly impacts functionality, safety, and the overall ambiance of your home’s busiest room. Think about it: you need bright, focused light for chopping vegetables, but perhaps a softer, warmer glow for evening chats over coffee. Proper lighting prevents accidents, makes tasks easier, and can even make a small kitchen feel more spacious and inviting.
The “secrets” aren’t really secrets at all, but rather fundamental principles of good design that make a huge difference. We’ll break down how to layer different types of light to create a space that’s both practical and beautiful. Get ready to see your kitchen in a whole new light!
The Three Layers of Kitchen Lighting Explained
To achieve that perfect kitchen glow, we need to think about light in layers, just like you’d layer clothes for comfort and style. Each layer serves a different purpose, and together they create a balanced and functional lighting scheme. These layers are:
1. Ambient Lighting: The Foundation
Ambient lighting, also known as general lighting, is the primary source of light in your kitchen. It’s what fills the room and provides overall visibility. Without it, your kitchen would feel like a cave!
- Purpose: To provide a comfortable level of general illumination for the entire space.
- Common Fixtures: Recessed ceiling lights (can lights), flush-mount ceiling fixtures, track lighting, and chandeliers.
- Placement: Typically installed in the ceiling, spaced evenly to cover the entire kitchen area. For a standard 10×10 kitchen, you might consider 4-6 recessed lights, spaced about 4-5 feet apart.
- Color Temperature: Aim for a warm white (around 2700K-3000K) for a cozy feel, or a neutral white (3500K-4000K) for brighter task areas.
Pro Tip: Dimmers are your best friend for ambient lighting! They allow you to adjust the light level from bright for cooking to dim for a relaxed evening.
2. Task Lighting: For Precision
Task lighting is focused light that illuminates specific work areas where you perform detailed tasks, like chopping, mixing, or reading recipes. This is where you really want to avoid shadows!
- Purpose: To provide bright, direct light on countertops, the sink, and the stove.
- Common Fixtures: Under-cabinet lighting (LED strips or puck lights), pendant lights over an island or peninsula, adjustable track lights, and fluorescent fixtures.
- Placement:
- Under Cabinets: Install directly under upper cabinets, aimed downwards onto your countertops. This is arguably the most impactful task lighting.
- Over Islands/Peninsulas: Hang pendant lights or a track of spotlights directly above the work surface. Ensure they are hung at a height that doesn’t obstruct views but effectively lights the area (typically 30-36 inches above the counter).
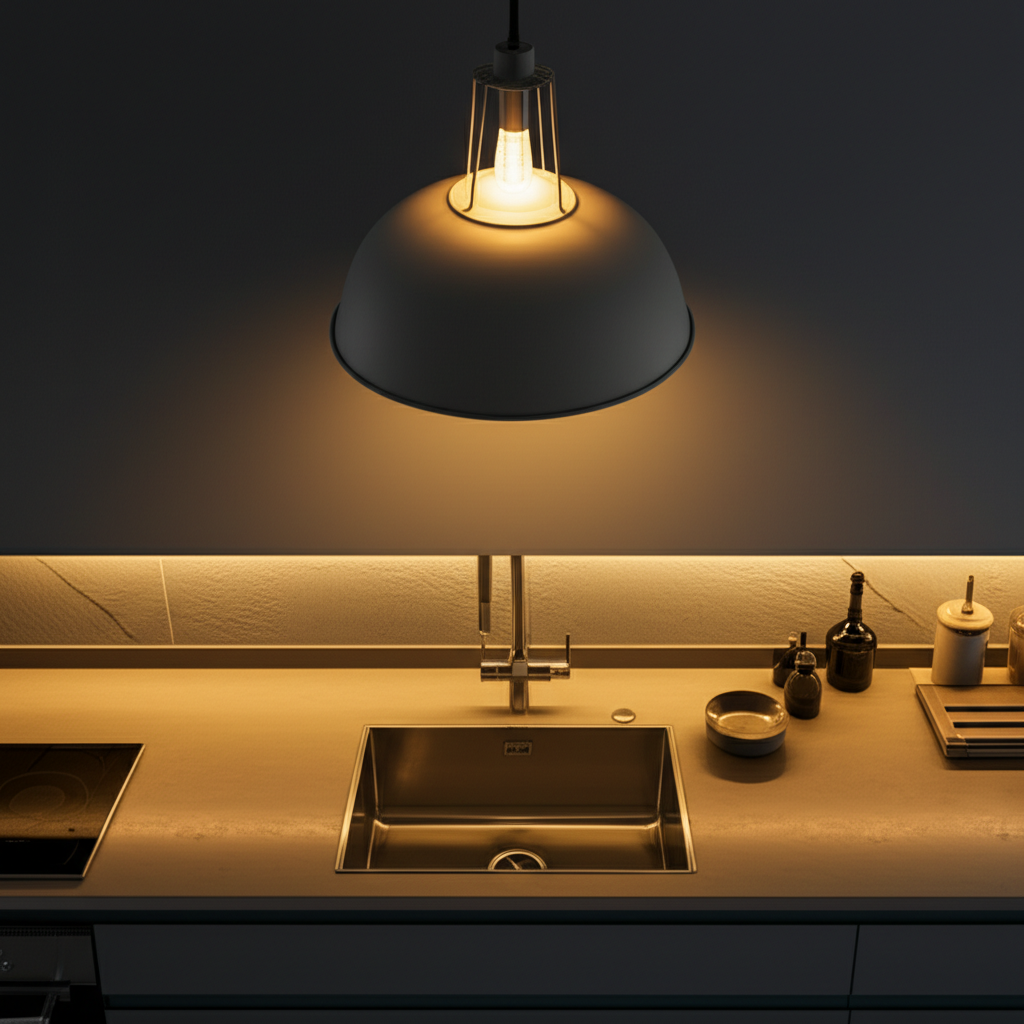
- Sink: A recessed light or a small pendant above the sink can be very helpful.
- Stove/Cooktop: Many range hoods have built-in task lighting, or you can use adjustable spotlights.
- Color Temperature: Often brighter and cooler (3500K-4500K) to enhance visibility for detailed work.
Think about it: Imagine trying to dice onions in a dimly lit corner. Task lighting ensures you can see exactly what you’re doing, improving both efficiency and safety.
3. Accent Lighting: To Highlight
Accent lighting is used to draw attention to specific features in your kitchen, adding depth, visual interest, and a touch of drama. It’s the finishing touch that makes your kitchen feel more polished and designed.
- Purpose: To highlight architectural details, artwork, decorative items, or even the contents of glass-front cabinets.
- Common Fixtures: Small recessed spotlights (often called “eyeballs” or “gimbals” which can be aimed), strip lights inside cabinets or shelves, picture lights, or small directional puck lights.
- Placement: Aimed at specific objects or areas. For example, a spotlight angled at a favorite piece of art on the wall, or strip lights installed inside a glass-front cabinet to showcase dishes.
- Color Temperature: Can vary, but often matches ambient lighting or is slightly warmer to create a cozy glow.
The “Secret” Revealed: Accent lighting is often overlooked, but it’s what elevates a kitchen from simply functional to a truly beautiful space. It adds layers and personality!
Strategic Light Placement for Every Kitchen Zone
Now that we understand the layers, let’s talk about where to put them to maximize their impact in different kitchen zones. It’s all about thinking about how you use each part of your kitchen.
The Kitchen Island or Peninsula: A Central Hub
Islands and peninsulas are often the heart of the kitchen, used for prep, casual dining, and gathering. They need excellent lighting.
- Ambient: General ceiling lights should still cover this area.
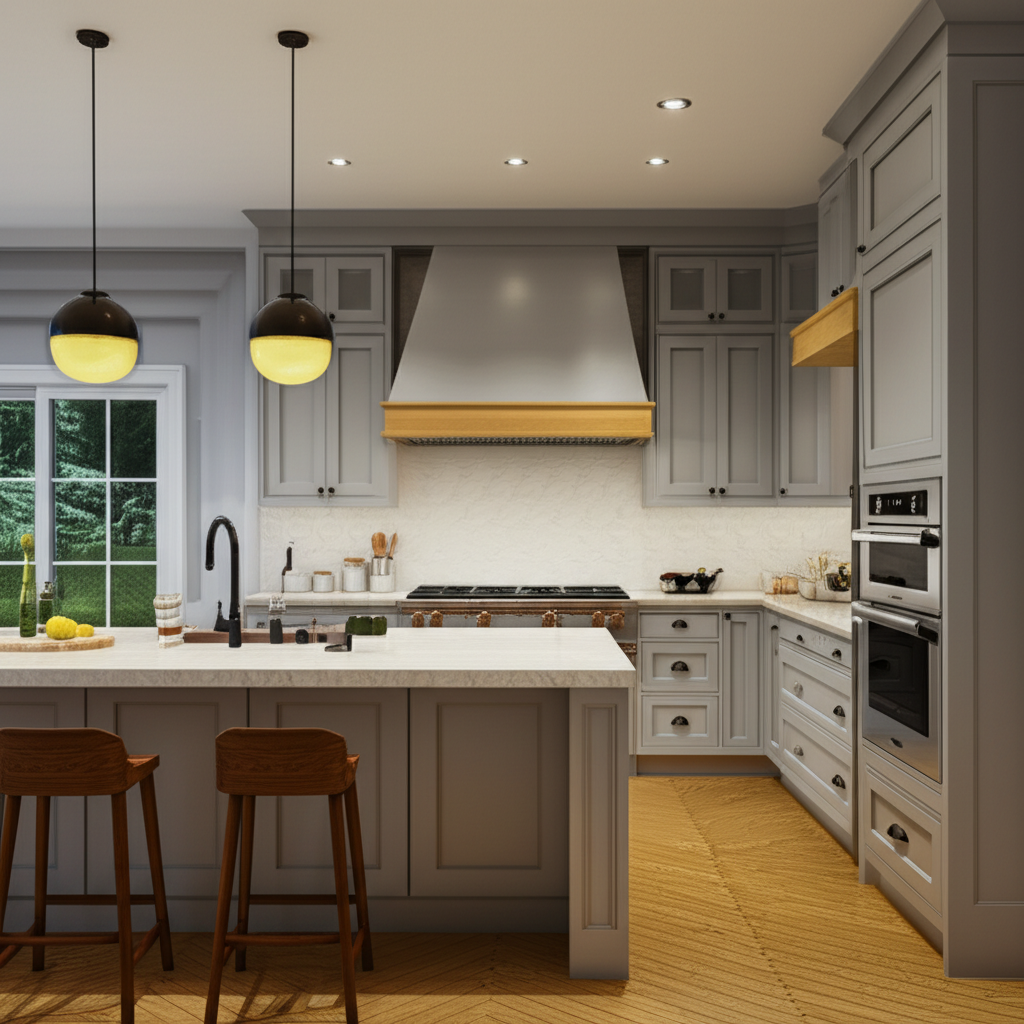
- Task: This is where pendant lights shine!
- Number: For a standard 6-8 foot island, two or three evenly spaced pendants usually work well. For longer islands, you might need three or even four.
- Spacing: Space them so they don’t feel too crowded or too far apart. A good rule of thumb is to place them about 2-3 feet from the ends of the island and space them evenly from there.
- Height: Hang them about 30-36 inches above the countertop. This ensures they light the surface without being a head-bumping hazard or creating glare.
- Accent: If you have shelves on your island, consider small LED strips to highlight them.
Key Consideration: Ensure pendant lights are sized appropriately for your island. A tiny pendant over a huge island will look lost, and a giant fixture over a small one can overwhelm the space.
Countertops: The Workhorses
Your countertops are where most of the action happens. Good lighting here is non-negotiable for safety and efficiency.
- Task: Under-cabinet lighting is your superhero here.
- Type: LED strips are the most popular choice for their slim profile, energy efficiency, and customizable lengths.
- Coverage: Ensure the lights run the full length of your cabinets, extending to the very edge to light the entire countertop surface.
- Placement: Mount them on the underside of the cabinets, towards the front edge, so they shine directly onto the counter without shining into your eyes.
- Ambient: Recessed lights or flush mounts in the ceiling will provide the base layer of light.
Did You Know? The National Kitchen & Bath Association (NKBA) recommends a minimum of 25-50 foot-candles of light on work surfaces. Under-cabinet lighting is essential to achieve this in key prep areas.
The Sink and Stove: Hot Spots
These are critical zones requiring focused light.
- Sink:
- Task: A dedicated recessed light directly above the sink, or a small pendant if it fits the style, is ideal. This prevents shadows when you’re washing dishes or cleaning.
- Stove/Cooktop:
- Task: Many modern range hoods come with built-in LED task lighting that illuminates the cooktop. If yours doesn’t, consider installing a small, adjustable spotlight or a strip light above the cooking area.
Safety First: Proper lighting around the stove is vital to prevent burns and ensure you can see when handling hot pans and boiling liquids.
Cabinet and Pantry Storage Secrets
Ever rummaged through a dark cabinet, only to pull out the wrong thing? Lighting inside cabinets makes a world of difference.
- Task/Accent:
- Inside Cabinets: Battery-operated LED puck lights or stick-on LED strips are fantastic for this. They activate when you open the door, illuminating the contents.
- Pantry: Install a dedicated light fixture, or use motion-activated LED strips along the shelves.
- Glass-Front Cabinets: Use small spotlights or LED strips to showcase your beautiful dishware and glassware.
The “Shocking” Truth: Many people don’t light the inside of their cabinets. Adding even simple battery-powered lights can revolutionize how you find things!
Choosing the Right Light Fixtures for Your Kitchen
The type of fixture you choose not only affects the light output but also the style and overall feel of your kitchen. Here’s a breakdown of common options:
Recessed Lighting (Cans)
- Best for: Ambient lighting, general illumination, and some task lighting.
- Pros: Sleek, unobtrusive, provides even light distribution.
- Cons: Requires ceiling modification, can create a “Swiss cheese” look if overdone, can create shadows if not placed carefully over work areas.
- Placement Tip: Space them about 4-5 feet apart in a grid pattern for general lighting. For task lighting over countertops, place them closer to the cabinets (about 2-3 feet from the wall).
Pendant Lights
- Best for: Task lighting over islands, peninsulas, or dining nooks; decorative accents.
- Pros: Adds style and personality, provides focused light.
- Cons: Can be a visual obstruction if hung too low, requires specific placement.
- Placement Tip: Hang 30-36 inches above the surface they are illuminating. Consider the scale of your island or table when choosing pendant size.
Under-Cabinet Lighting
- Best for: Task lighting on countertops.
- Pros: Eliminates countertop shadows, energy-efficient (especially LEDs), creates a warm ambiance.
- Cons: Requires installation, can be visible if not chosen carefully.
- Options: LED strips (most popular), puck lights, linear fluorescent lights (less common now).
Flush-Mount and Semi-Flush Mount Fixtures
- Best for: Ambient lighting in kitchens with lower ceilings.
- Pros: Space-saving, provides good general light, available in many styles.
- Cons: Less directional than recessed lights, can be harder to clean around.
- Placement Tip: Centered in the room or in areas that need general light.
Track Lighting
- Best for: Flexible ambient and task lighting, especially in older kitchens where ceiling modifications are difficult.
- Pros: Adjustable heads allow you to direct light where needed, can be updated easily.
- Cons: Can look utilitarian if not styled well, visible hardware.
- Placement Tip: Install along the main ceiling plane, with heads aimed at task areas or decorative features.
Understanding Color Temperature and Lumens
These two terms are key to getting the feel of your lighting just right.
Color Temperature (Kelvin – K)
Color temperature describes the warmth or coolness of light. It’s measured in Kelvin (K).
| Color Temperature (K) | Description | Best Use in Kitchen |
|---|---|---|
| 2700K – 3000K | Warm White (Incandescent-like) | Ambient lighting, creating a cozy, inviting atmosphere. Great for dining nooks or relaxation areas. |
| 3500K – 4000K | Neutral White/Cool White | Ideal for task lighting, especially over countertops and sinks. Provides good color rendering for food prep. |
| 4500K – 6500K | Daylight | Can be too cool and stark for most kitchens, but may be useful for very specific task areas if preferred. |
Lumens (Brightness)
Lumens measure the total amount of light produced by a bulb. More lumens mean a brighter light.
- General Guideline: For ambient lighting, aim for about 10-20 lumens per square foot. For task lighting, you’ll want significantly more, around 50-100 lumens per square foot, focused on the work surface.
- Example: A 100-watt incandescent bulb produces about 1600 lumens. An equivalent LED bulb might only use 15-20 watts to produce the same or more lumens.
Tip: Look for LED bulbs that specify both their Kelvin (color temperature) and Lumens (brightness) so you know exactly what you’re getting.
DIY Lighting Upgrades You Can Do Today
You don’t need to be an electrician to make significant improvements to your kitchen lighting. Many tasks are beginner-friendly!
Installing Under-Cabinet Lighting
This is one of the most impactful and easiest DIY lighting projects.
- Choose Your System: Select LED strips or puck lights. Many come with adhesive backing and simple plug-in transformers or battery packs.
- Plan Your Layout: Decide where you want the lights to go. Measure the length of your cabinets.
- Clean the Underside of Cabinets: Ensure the surface is clean and dry for good adhesion.
- Install the Lights: Peel off the backing and press the lights firmly into place. Connect sections if needed.
- Connect Power: Plug in the transformer or insert batteries.
- Test: Turn them on to ensure everything works!
Recommended Tool: A tape measure and a clean cloth are essential. For hardwired systems, an electrician is recommended, but plug-in options are plentiful for DIYers.
Replacing Old Fixtures
Swapping out an outdated ceiling fixture for a new one is a common DIY task, but always turn off the power at the breaker box first!
- Turn off Power: Locate the breaker for your kitchen lights and switch it off.
- Remove Old Fixture: Unscrew the canopy, disconnect the wires (usually black to black, white to white, ground to ground), and remove the fixture.
- Install New Fixture: Follow the manufacturer’s instructions. Typically, you’ll attach a mounting bracket, connect the wires, and then screw the new fixture into place.
- Restore Power & Test: Turn the breaker back on and test the new light.
Important Note: If you’re uncomfortable with electrical work, it’s always best to hire a qualified electrician. You can find resources on safe electrical practices from sites like The U.S. Consumer Product Safety Commission.
Adding Smart Bulbs
Upgrade your existing fixtures with smart bulbs for easy control and dimming.
- Choose Smart Bulbs: Select bulbs that fit your existing fixtures (e.g., E26 base for most standard sockets).
- Install the Bulb: Screw the smart bulb into your existing lamp or fixture.
- Download the App: Follow the bulb’s instructions to download the corresponding app on your smartphone or tablet.
- Connect: Follow the app’s prompts to connect the bulb to your Wi-Fi network.
- Control: You can now control brightness, color temperature (on some models), and turn lights on/off via your phone or voice commands with smart assistants like Alexa or Google Assistant.
The Future is Bright: Smart bulbs offer incredible flexibility, allowing you to set schedules or create “scenes” for different activities.
Common Lighting Mistakes to Avoid
Even with the best intentions, it’s easy to make a few missteps. Here are some common pitfalls to steer clear of:
- Relying on a Single Light Source: This is the most common mistake. A single overhead light often creates shadows and doesn’t provide adequate light for all tasks.
- Poor Placement of Task Lighting: If your under-cabinet lights are mounted too far back, they won’t effectively light your countertops.
- Ignoring Dimmers: Not having dimmers on your main lights limits your ability to adjust the mood and intensity of the light.
- Incorrect Color Temperature: Using overly cool (blueish) light in a main living area can feel sterile, while overly warm light in a task area might not be bright enough.
- Overlighting or Underlighting: Too many bright lights can be harsh, while too few can make the space feel dim and uninviting.
- Fixture Size Mismatch: Using pendant lights that are too small for an island or a chandelier that’s too large for a small dining nook.
The Takeaway: Think about layering, consider the function of each area, and don’t be afraid to experiment!
FAQs About Kitchen Light Placement
How many lights do I need in my kitchen?
It depends on the size of your kitchen and the types of fixtures. A common guideline for recessed ceiling lights is one every 4-5 feet for general ambient light. You’ll then add task lighting (under-cabinet, pendants) where needed.
What is the best type of lighting for kitchen countertops?
Under-cabinet lighting is widely considered the best for countertops. It provides bright, shadow-free illumination directly where you need it for prep work.
Should my kitchen lights be warm or cool?
It’s best to use a mix. Warm white (2700K-3000K) is great for ambient lighting to create a cozy feel. Neutral or cool white (3500K-4000K) is better for task lighting to enhance visibility and color accuracy.
How high should pendant lights hang over a kitchen island?
Generally, hang pendant lights 30-36 inches above the countertop. This height provides good illumination without being a head-bumping hazard.
Can I use only one overhead light in my kitchen?
While possible for very small kitchens, it’s not ideal. A single light source often creates uneven lighting and shadows, making tasks difficult and the space feel less inviting. Layering is key for a functional kitchen.
What is the purpose of accent lighting in a kitchen?
Accent lighting is used to highlight specific features, such as artwork, decorative shelves, or items inside glass-front cabinets. It adds visual interest, depth, and a designer touch to the space.
Conclusion: Lighting Up Your Kitchen Journey
Transforming your kitchen lighting doesn’t have to be a daunting project. By understanding the three essential layers—ambient, task, and accent—and strategically placing your fixtures, you can create a space that is not only beautiful but also incredibly functional. From eliminating those frustrating countertop shadows with under-cabinet lights to setting the perfect mood with dimmable ambient lighting, the right placement makes all the difference.
Whether you’re tackling a full remodel or just looking for a few simple DIY upgrades like adding smart bulbs or new pendant lights, remember that good lighting is an investment in your home’s comfort and usability. Don’t be afraid to experiment with different types of bulbs and fixture styles to find what works best for your unique kitchen and lifestyle. With these insights, you’re well on your way to a brighter, more inviting, and perfectly illuminated kitchen!