

Can light placement in kitchen? Yes! Proper placement is a shocking design secret that transforms your kitchen from dull to dazzling, creating a functional and inviting space.
Is your kitchen feeling a little… dim? Maybe tasks are harder than they should be, or the whole room just doesn’t feel quite right. You’re not alone! Many of us struggle to get the lighting just perfect. It’s easy to feel overwhelmed by all the options, but what if the secret to a beautifully lit kitchen was simpler than you thought? It’s all about where you put your lights! We’re going to unlock this surprising design secret together, making your kitchen shine.
The Shocking Secret to Kitchen Lighting: It’s All About Placement!
We all know lights are important, but the real magic happens when you understand how to place them. Think of it like baking – the right ingredients are crucial, but the order and technique make all the difference. In kitchen design, light placement is that secret ingredient. It’s not just about having enough light; it’s about having the right light, in the right spots, to make your kitchen functional, safe, and beautiful. Let’s dive into why this seemingly simple detail can have such a dramatic impact.
Why Light Placement is Your Kitchen’s Best Friend
Imagine chopping vegetables under a shadowy corner, or trying to read a recipe when a glare blinds you. Frustrating, right? Poor light placement can lead to:
- Increased risk of accidents: Dark spots make it harder to see what you’re doing, increasing the chance of cuts or burns.
- Reduced functionality: If you can’t see your workspace clearly, cooking becomes a chore instead of a joy.
- Unflattering aesthetics: Harsh shadows or uneven lighting can make your kitchen feel uninviting and smaller than it is.
- Eye strain: Constantly squinting or struggling to see can be tiring and unpleasant.
On the flip side, thoughtful light placement can:
- Enhance safety: Bright, even lighting eliminates shadows where hazards might hide.
- Boost productivity: Clear visibility in task areas makes cooking and cleaning much easier.
- Create ambiance: Layered lighting adds warmth and character, making your kitchen a welcoming hub.
- Make spaces feel larger: Strategic lighting can open up a room and make it feel more spacious.
Understanding the Layers of Kitchen Light
A truly well-lit kitchen isn’t just about one type of light. It’s a symphony of different lighting layers, each serving a purpose. Think of it like creating a delicious recipe – you need base flavors, accent flavors, and finishing touches. In lighting, these layers are:
1. Ambient Lighting: The Foundation
This is the general, overall illumination of your kitchen. It’s what allows you to walk around safely and see the entire space. Think of it as the soft glow that fills the room.
- Common Fixtures: Ceiling lights (flush mounts, recessed cans, chandeliers), track lighting.
- Placement Goal: To provide even light distribution across the entire kitchen.
- Beginner Tip: For a basic setup, one central ceiling fixture can provide good ambient light in smaller kitchens. In larger kitchens, you might need two or more to avoid dark corners.
2. Task Lighting: The Workhorses
This is the focused light that illuminates specific work areas, like your countertops, sink, and stovetop. This is where proper placement becomes critical for functionality and safety.
- Common Fixtures: Under-cabinet lights, pendant lights over islands, directional recessed lights aimed at work surfaces.
- Placement Goal: To provide bright, direct light exactly where you need it to perform tasks.
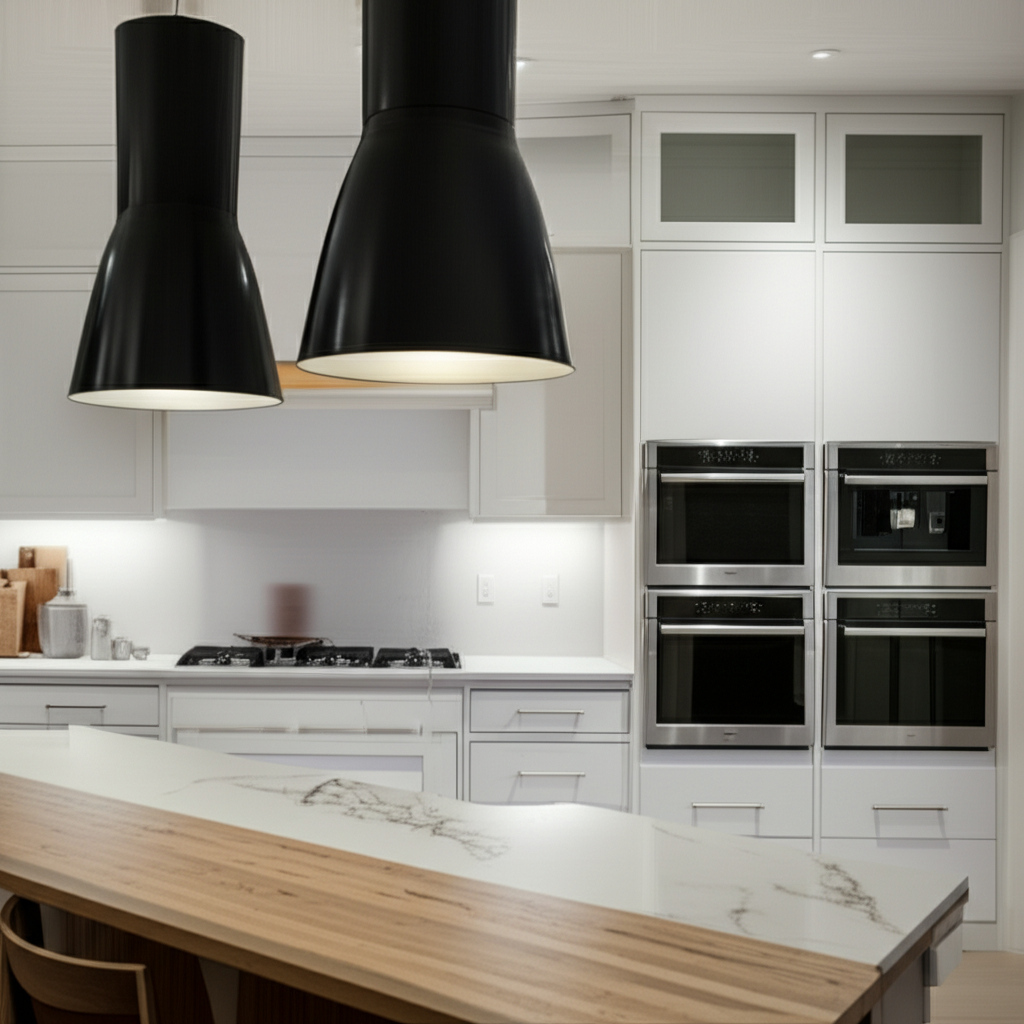
- Beginner Tip: Under-cabinet lighting is a game-changer! It illuminates your countertops without creating glare or shadows from overhead lights.
3. Accent Lighting: The Sparkle
This lighting is used to highlight specific features, like artwork, decorative shelves, or architectural details. It adds depth, interest, and personality to your kitchen.
- Common Fixtures: Track lights with adjustable heads, small spotlights, rope lights inside cabinets or toe kicks.
- Placement Goal: To draw attention to focal points and add visual appeal.
- Beginner Tip: Even a small spotlight on a favorite piece of art or a decorative bowl can make a big difference in how your kitchen feels.
The “Shocking” Truth About Can Light Placement in Kitchens
Recessed lighting, often called “can lights,” is a popular choice for kitchens. But where you put them is the secret sauce. The goal is to illuminate your countertops and workspaces effectively without creating a “checkerboard” effect or leaving you in the dark.
Common Mistakes to Avoid with Can Lights:
You might think placing them evenly spaced across the ceiling is the way to go, but this often leads to:
- Shadows on countertops: When you stand at your counter, your body can block the light from overhead cans, casting shadows right where you need to work.
- Glare: If cans are too close to reflective surfaces like stainless steel appliances or glossy backsplashes, they can create uncomfortable glare.
- Uneven light: Too few cans leave dark areas; too many can feel harsh and overly bright.
The Golden Rule for Can Light Placement:
The most effective placement strategy for can lights in a kitchen is to position them primarily to light your work surfaces. This means:
- Along cabinet fronts: Place can lights a few inches (typically 6-12 inches) in from the edge of your upper cabinets. This ensures the light shines directly onto your countertops.
- Over walkways and in the center: Use additional lights to ensure the central areas of the kitchen and pathways are well-lit for general movement.
- Consider the layout: Think about where your cabinets, islands, and appliances are. You want to illuminate the functional zones.
A Simple Calculation for Spacing (Beginner-Friendly):
To get an idea of how many can lights you might need and how far apart they should be, consider this:
- Determine the ceiling height: Measure the height of your ceiling in feet.
- Divide ceiling height by 2: This gives you a rough estimate of the optimal spacing between lights. For example, an 8-foot ceiling might suggest lights spaced about 4 feet apart.
- Adjust for work areas: If your countertops are primarily along one wall, focus a row of lights closer to that wall (as mentioned, 6-12 inches from the cabinet edge). If you have an island, place lights to illuminate the island surface.
Remember, this is a guideline. It’s always best to visualize or use painter’s tape to mark potential spots on your ceiling before installation.
Beyond Cans: Other Essential Kitchen Lighting Placements
While can lights are great for ambient and some task lighting, don’t forget other crucial placements:
Under-Cabinet Lighting: The Task Lighting MVP
This is arguably the most impactful lighting placement for improving kitchen functionality. These slim fixtures, often LED strips or puck lights, are mounted underneath your upper cabinets.
- Placement: Position them so they shine directly onto your countertops, typically towards the front edge of the cabinet.
- Why it’s a secret: It directly combats the shadow problem created by overhead lights, making your prep areas bright and clear. It also adds a beautiful, layered glow to the kitchen.
- Types: LED strips are popular for a continuous light, while puck lights are good for specific task zones.
- Find great options: Websites like Energy.gov offer excellent guidance on energy-efficient lighting choices, including LEDs, which are perfect for under-cabinet use.
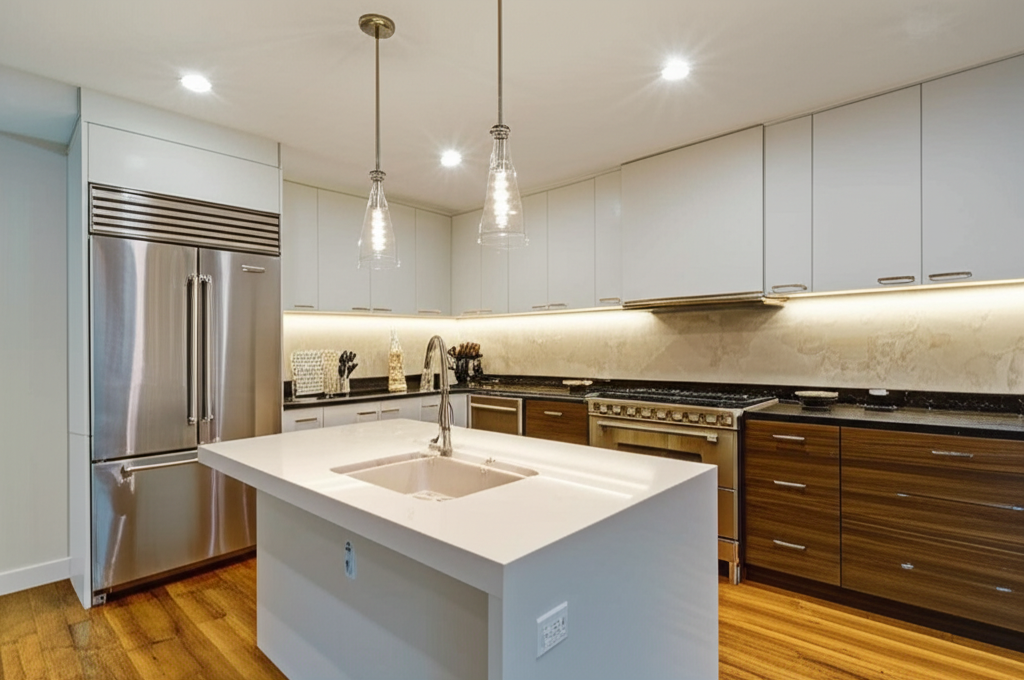
Pendant Lights: Style and Task
Pendant lights are fantastic for islands, peninsulas, or even over a sink. They offer both style and focused task lighting.
- Placement: Hang them at a height that illuminates the surface below without obstructing views or being a head-bumping hazard. For islands, aim for about 30-36 inches above the countertop.
- Spacing: If you have multiple pendants over an island, space them evenly, leaving enough room to work on the island without bumping them. A good rule is to have about 24-30 inches between pendants.
- Tip: Consider dimmable pendants so you can adjust the mood from bright task lighting to a softer evening glow.
Sconce Lighting: Adding Charm and Warmth
Wall sconces can add decorative flair and provide softer ambient or task light in specific areas, like next to a window or on a wall without cabinets.
- Placement: Typically mounted at eye level (around 60-66 inches from the floor) or to highlight a specific architectural feature.
- Benefit: They can help fill in gaps where overhead lighting might not reach or add a softer, more decorative touch.
In-Cabinet and Drawer Lighting: The Hidden Gems
Don’t forget the inside! Lights inside cabinets or drawers make finding things a breeze.
- Placement: Small LED strips or puck lights can be mounted inside cabinets or along the top of drawers.
- Functionality: No more digging in the dark for that spice jar or utensil! This is a delightful convenience that many people overlook.
Putting It All Together: A Layered Lighting Plan
Let’s visualize how these layers work together. Imagine your kitchen:
- Ambient: Recessed lights spaced correctly along the cabinet runs and in the center of the room provide a good base layer.
- Task: Under-cabinet LEDs illuminate your entire countertop prep area, eliminating shadows. A pendant light over your island provides focused light for chopping, eating, or serving.
- Accent: A directional spotlight highlights a beautiful backsplash tile or a display shelf.
This layered approach creates a kitchen that is not only functional but also visually appealing and comfortable to be in.
Light Placement by Kitchen Zone
To make it even clearer, let’s break down light placement by the common zones in your kitchen:
Zone 1: The Prep and Cooking Area (Countertops & Stovetop)
This is the most critical zone for task lighting.
- Best Options: Under-cabinet LED strips, recessed lights positioned 6-12 inches from cabinet fronts, pendant lights over island workstations.
- Placement Goal: Bright, shadow-free illumination directly on the work surface.
Zone 2: The Sink Area
Another key task area, often overlooked.
- Best Options: Under-cabinet lighting that extends to the sink edge, a dedicated pendant or sconce over the sink.
- Placement Goal: Clear visibility for washing dishes and food prep at the sink.
Zone 3: The Island or Peninsula
This often serves as a multi-functional hub.
- Best Options: Pendant lights for focused task and decorative lighting, recessed lights around the perimeter of the island to light the surrounding floor space.
- Placement Goal: Even illumination for eating, working, or gathering. Ensure pendants are hung at a safe height.
Zone 4: The Walkways and General Circulation Areas
These are the paths you take through the kitchen.
- Best Options: Recessed lights spaced appropriately for the room size, flush mount ceiling fixtures.
- Placement Goal: Safe and easy movement throughout the kitchen without tripping hazards or dark corners.
Zone 5: Cabinet Interiors and Pantries
For finding what you need efficiently.
- Best Options: Battery-operated LED puck lights, LED strips with motion sensors.
- Placement Goal: To easily see the contents of cabinets and pantries.
Choosing the Right Bulbs: The Color Temperature Secret
Beyond placement, the type of bulb you choose significantly impacts the feel of your kitchen. This is all about “color temperature,” measured in Kelvin (K).
Here’s a simple guide:
| Color Temperature (Kelvin) | Description | Best Use in Kitchen |
|---|---|---|
| 2700K – 3000K | Warm White / Soft White | Creates a cozy, inviting atmosphere. Great for general ambient lighting and dining areas. |
| 3500K – 4000K | Neutral White / Bright White | A good balance of warm and cool. Excellent for task lighting where clarity is needed, like countertops and sinks. |
| 4500K – 6500K | Cool White / Daylight | Mimics natural daylight, very bright and crisp. Best for garages or very specific task areas needing high visibility, but can feel sterile in living spaces. |
Beginner Tip: For most kitchens, a mix of 3000K for ambient and 3500K-4000K for task lighting provides a balanced and functional feel. Consider dimmable bulbs for flexibility!
For more on lighting basics, the Consumer Energy Center provides helpful insights into making smart lighting choices.
DIY vs. Professional Installation: What’s Best?
When it comes to lighting, especially electrical work, safety is paramount. For simple fixture replacements or adding battery-operated lights, DIY is often feasible. However, for installing recessed lighting or significant rewiring, hiring a licensed electrician is highly recommended.
DIY Friendly:
- Replacing existing ceiling fixtures.
- Installing plug-in or battery-operated under-cabinet lights.
- Adding stick-on drawer lights.
Professional Recommended:
- Installing new recessed lighting (requires cutting into the ceiling, wiring).
- Changing the location of existing fixtures.
- Adding new circuits or switches.
Consulting with a professional can ensure your lighting plan is safe, up to code, and perfectly executed, giving you peace of mind. You can often find qualified electricians through resources like the National Association of the Remodeling Industry (NARI) or by asking for referrals.
Frequently Asked Questions About Kitchen Light Placement
Q1: How many recessed lights do I need in my kitchen?
A1: The number depends on your kitchen’s size, layout, and ceiling height. A common guideline is to space them about 4-6 feet apart, focusing on illuminating work surfaces. Measure your room and use the ceiling height divided by 2 rule as a starting point, adjusting for specific zones.
Q2: Should my kitchen lights be on one switch?
A2: Ideally, no. Using multiple switches or a dimmer system allows you to control different lighting layers (ambient, task, accent) independently, creating different moods and ensuring optimal light for various activities.
Q3: What’s the best lighting for kitchen countertops?
A3: Under-cabinet lighting is considered the best for countertops as it directly illuminates the work surface without casting shadows. Bright, neutral white (3500K-4000K) LED bulbs are excellent for this task.
Q4: Can I put can lights directly over my kitchen island?
A4: Yes, but be strategic. Place them to light the island surface, typically 6-12 inches in from the island’s edges. However, pendant lights are often preferred for islands as they offer a stronger design statement and more direct downward light.
Q5: How do I avoid shadows when I’m cooking?
A5: The key is layered lighting with a focus on task lighting. Ensure your under-cabinet lights are bright and positioned correctly, and that your overhead recessed lights are placed to complement, not compete with, your task lighting by being closer to the front edge of cabinets.
Q6: What color temperature is best for a kitchen?
A6: A mix is usually best. Warm white (2700K-3000K) is good for general ambiance and creating a cozy feel, while neutral white (3500K-4000K) is ideal for task areas like countertops and the sink because it provides clear, bright light without being harsh.
Conclusion: Let Your Kitchen Shine!
You’ve unlocked the secret! It’s not just about having lights; it’s about smart placement. By layering ambient, task, and accent lighting, and by carefully considering where each fixture goes – especially those crucial can lights and under-cabinet LEDs – you can transform your kitchen. You can make it safer, more functional, and wonderfully inviting. Don’t let shadows or poor lighting dim your culinary adventures. With these tips, you’re well on your way to creating a kitchen that not only looks beautiful but works brilliantly for you and your family. Happy lighting!